Translator

Showing posts with label MDF. Show all posts

Thursday, 27 September 2018

Little Fawn Christmas Baubles - Craft Consortium


Hi Everyone, for my DT post with Craft Consortium I have been playing with Christmas Baubles from their MDF range which also come with a handy Christmas stencil.


I decided to use the latest paper pad on my Baubles called Little Fawn and Friends which is every bit as beautiful as all their other pads.


I started by fussy cutting out all the images I wanted to layer onto my Baubles.  I sprinkled some chunky white Embossing powder onto my trees and heat set for a wintry feel and edged my animals with a little distress ink.


I then gave my Baubles a coat of Gesso and once dry I applied a layer of Decoupage Paper onto both sides with Mod Podge Matt. Once dry I sanded my edges to make it nice and neat and added a layer of Mod Podge Sparkle for a glistening effect. I added some metallic Embossing powder at the top of the Baubles heat setting in place and rubbed some Rose Gold Gilding Wax over the surface and around the edges for a metallic feel.


Now onto the fun part of layering up all my elements with Silicone Glue to create small scenes.


Finishing them off with glitter ribbon and these exquisite little pine cones, along with lots of sparkly glass glitter.


Craft Consortium Products Used -
Little Fawn Pine Cone Charms
MDF Baubles

Thanks so much for your visit today and do check out Craft Consortium and follow them on Facebook and Instagram for regular inspiration and giveaways. 

Crafty Hugs, 
Julie x

Tuesday, 11 September 2018

Oh Christmas Tree - Craft Consortium


Hi everyone, today for my DT post at Craft Consortium I have been playing with another of their newly launched MDF products.


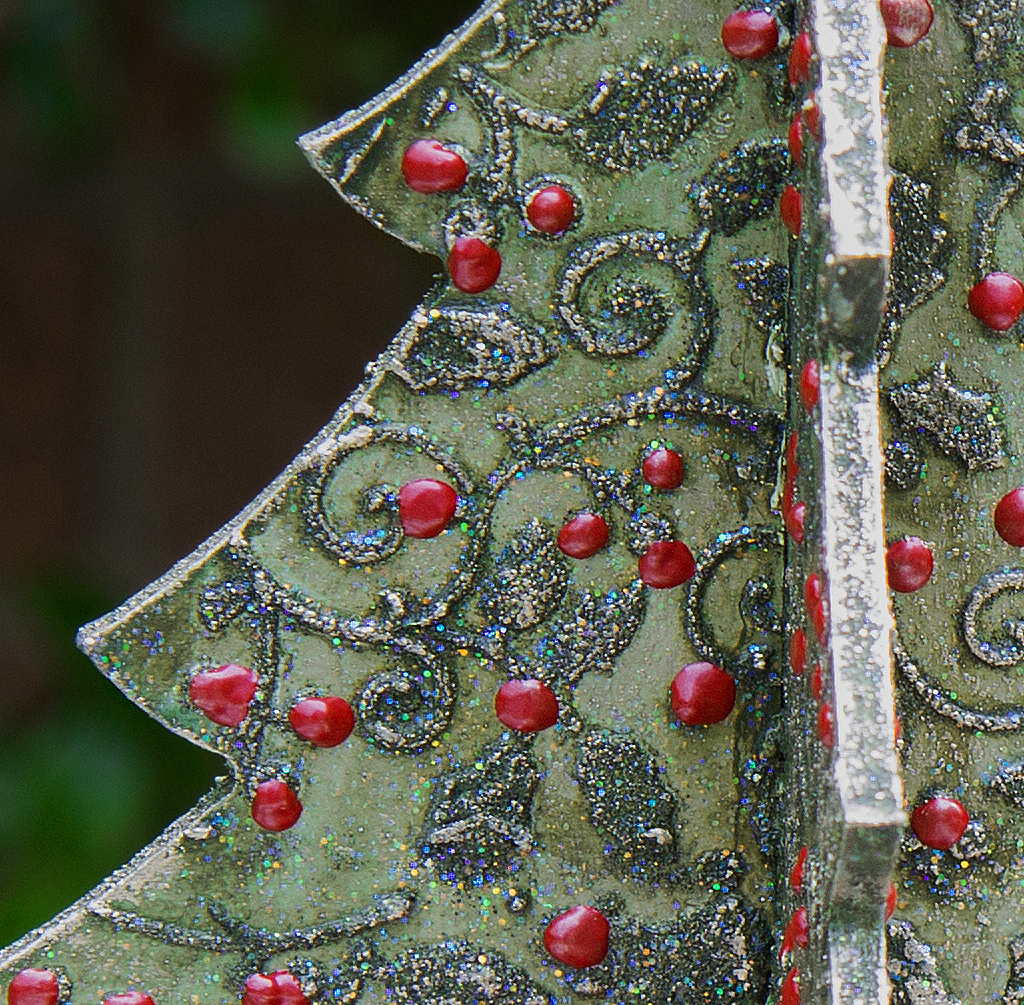
I started by adding a layer of Embossing paste through a stencil onto all sides of my tree and once dry added a couple of layers of Acrylic paint. I then highlighted my stencilling and the edges of the tree with some Gilding Wax and finished with lots of red berries using Nuvo Drops.


On my base I added a layer of Decoupage paper and some Mod Podge Sparkle onto my top Layer. I added small felt circles into my Candle bases and some Glitter Ribbon around the edges.

I finished by adding a floral arrangement and lots of sparkly snowflakes with Rhinestones in the centres.

Thanks so much for stopping by today and do check out Craft Consortium and follow them on Facebook and Instagram for regular inspiration and giveaways. 

Craft Consortium Products Used -

Craft Hugs, 
Julie x

Tuesday, 3 July 2018

Little Birdhouse


Hi everyone, today for my DT post with Craft Consortium I have been playing with a birdhouse from their MDF range and some of their beautiful Decoupage papers.


I started by adding some paint to all my outside edges that I didn’t want to cover with paper.
Next I added a layer of Mod Podge onto my MDF and placed the Decoupage Paper onto top. Once dry I sanded the edges for a neat finish and coated with a top layer of Mod Podge.


Craft Consortium has an amazing range of Decoupage papers to suit all styles of crafting. Do check them all out HERE.

Thanks so much for stopping by today and do check out Craft Consortium and follow them on Facebook and Instagram for regular inspiration and giveaways.

Crafty Hugs, 
Julie x

Monday, 19 March 2018

Mixed Media Canvas


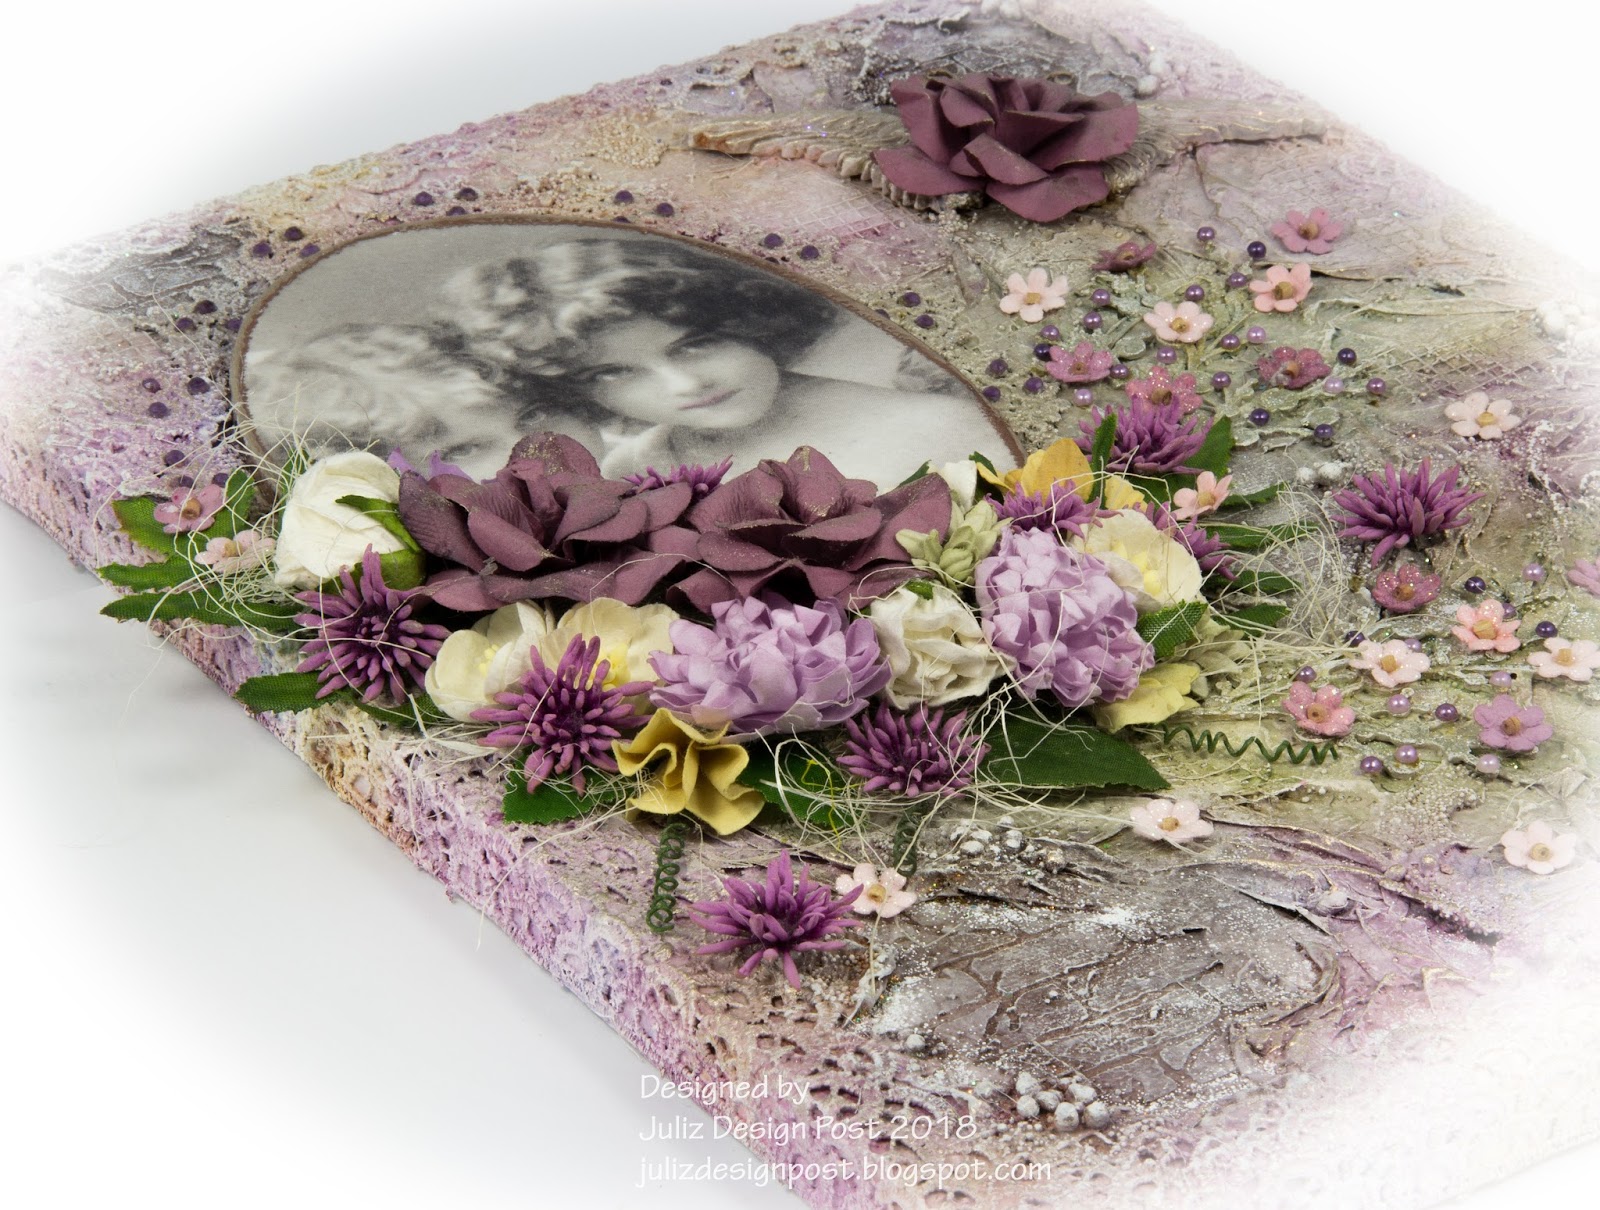
Hi creative friends, it’s been a while since I have got messy creating a mixed media project. So I decided it would be fun to make a piece of home decor for my craft room.
This canvas measures approximately 12 x 9 inches.


I started by giving my MDF oval shape a coat of Gesso and once dry I added a layer of Multi Medium. Next I separated the layers of my beautiful vintage napkin and placed the top layer onto the MDF. Once dry I added another couple of layers of Multi Medium to seal it. I heat embossed around the edges with a gold coloured Embossing Powder. Who would have ever thought this started out as a napkin.


The next stage was to create my background onto my canvas. I started by adding Embossing paste through my brick stencil. Once dry I added a layer of Tissue paper with Multi Medium adding creases and puckers and exposing my bricks.


I then added some lace round the outside of my canvas to help frame it. Also adding some dry wall tape, Art stones and more lace around the area my picture would sit and some chipboard shapes for extra detail. Once I was happy I gave my canvas a layer of Gesso to seal everything. Then onto the fun part of using a mix of sprays from 13Arts and Lindys.


Once I had dried with my heat gun I started to highlight all my texture by dry brushing on some Gesso. I also heat embossed some sparkly Embossing Powder for another detail, which unfortunately hasn't been captured in the photos.


My butterfly was made with Resin wings which had been coloured and shaded with Gilding Wax. 


The antennas are wire from my flowers curled into shape and heat embossed with gold, finishing with a rose in the centre.


Onto the fun part of layering on my floral bouquet, accents of pearls onto my chipboard shapes and bling around my lace frame.

Thanks so much for stopping by today, your visits are always appreciated.

Crafty Hugs 

Monday, 19 February 2018

Craft Consortium's MDF Trinket Box


Hi everyone, today my Design Team project for Craft Consortium uses lots of their products including this super box from the new range of MDF which is great for storage or to display trinkets and artwork in.

 
I started by adding a generous layer of Mod Podge onto my MDF and added a section from the sheet of Decoupage Paper on top, continuing until all covered. Once dry I sanded all the edges. Next I started to sand over my paper with a circular motion, this started to reveal the ripples from the thick glue layer and gave a weathered look to my box. Finishing with a top coat layer of glue to give a nice finish.

Now I will just let you enjoy all the photos of my box.


Craft Consortium Products Used:

Gypsy Gypsy Paper Pad (fussy cut butterflies) 

Thanks for stopping by today and do check out Craft Consortium and follow them on Facebook and Instagram for regular inspiration and giveaways.

Crafty Hugs, 

Wednesday, 7 February 2018

MDF Storage Box - Craft Consortium


Hi everyone and thank you for stopping by today to see my post for Craft Consortium using their new MDF range along with a couple of their Decoupage papers.


So let me share some photographs with you.


I fussy cut my birds out of my Decoupage Paper and layered on top of my base paper.


The sides of my box and index cards were all sanded for a neat edge.
  

I added little name tags onto my index cards and fussy cut butterflies from the Decoupage Paper.


 As you can see I lined the inside with Decoupage paper to match the outside of the box.


I hope you have enjoyed looking at the pictures and if you click HERE you can check through all the products in their shop.

Thanks so much for all your lovely comments and please do check out Craft Consortium and follow them on Facebook and Instagram for regular inspiration and giveaways..

Crafty Hugs, 

Julie x

Wednesday, 31 January 2018

Craft Consortium's MDF Launch


Hi everyone, thanks for stopping by today and apologies for falling so far behind with your lovely blogs but I have not been well at all recently. Craft Consortium recently launched a new collection of MDF products along with glue and brushes to compliment their wonderful range of Decoupage Papers. You may have tuned into Create and Craft last week and noticed them being showcased.


My letter rack has been covered  in the sheets of Vintage Postcards Decoupage paper, gluing in place and adding a top coat of glue. I didn't add Gesso to my MDF before adding the paper as I wanted to keep the muted tones. It also makes great craft storage as well as a letter rack.


Once dry I sanded my edges to give a crisp edge. I also added some gold Embossing Powder around the edges to add a Vintage feel.


I added a layer of felt onto the base.


My butterflies were fussy cut from another Decoupage Paper and glued in place adding Rhinestones into the centres for a finishing touch.


Thanks so much for stopping by and I do hope I am able to catch up with all your blogs shortly. Also a big thank you to my darling husband who does my photography and putting my blog posts up for me. I really don't know what I would do without his help.

Crafty Hugs, 

Julie x

Craft Consortium Products Used :

3D MDF Letter Rack
Flutter of Butterflies Decoupage Papers
Vintage Postcards Decoupage Papers  
Small and Large Rhinestones

LinkWithin

Related Posts Plugin for WordPress, Blogger...
01 09 10