|
| Click to Enlarge |
Hello fellow blog friends, nice to have you visiting. Firstly I would like to thank everyone who visited my blog and left a comment on my first post with A Vintage Journey - Dare to Shop , I was overwhelmed with all your kindness and support.
Sandy is hosting the challenge this fortnight over at A Vintage Journey called
Bountiful Harvest, where you will find all the details on how to enter this
challenge and to see the outstanding inspiration from my fellow Creative
Guides. You are certainly in for a real treat.
I initially gathered my inspiration from a photograph of
a wagon filled with an abundance of fruit, vegetables and grains. I brought
these aspects into my project adding several of Tim's techniques to get my
desired effect.
You may want to grab yourself a cuppa at this point as this is a long post with many details for you to enjoy.
I purchased a few wooden bread boards from my local
bargain stall to alter and thought this challenge was the perfect base to suit
my project. I started by giving it a light sanding and a coat of Gesso to seal
my board.
While my second coat of paint was still damp I picked up some
Distress ink onto a baby wipe and rubbed
over my stencil. This lifted back the damp Gesso and also placed an outline of
ink from my stencil.
I love how Tim always creates real depth to a tag and I
wanted to replicate this on my board so I applied several colours of ink through my stencil, heat setting.
So next, I gathered several Autumnal shades of ink that I
had, ideally it would have been all Archival
inks I used at this point, for their vibrance and permanent effect. Anyway, I
started off by second generation stamping various leaves and colours, heat
setting as I built this up. Now with first generation ink, I carried on stamping my leaves, which now
gave me different tones from the same colour of inks.
I added my crackle stamp
and a little distress around the edges, finally heat setting my whole board for
several minutes so it was now no longer reactive to water.
I die cut out Cheery Lynn's Burlap Border, applying a
little Distress Paint to the edges. Next, grunge paste mixed with distress paint and applied with a palette knife,
letting it dry.
I sealed the back of it with Multi Medium. Next, I applied a
thick layer of Prima's Clear Crackle Paste and again let it air dry for a few
hours.
Once dry I rubbed over Distress inks to highlight my crackles. I then
mixed up some Scattered Straw Distress Paint into my Grunge paste and placed my
Wheat Stencil back over my Burlap Border.
Once dry I replaced my stencil back
on and rubbed some more Distress Ink onto the raised areas of my wheat.
Some of my leaves were left over from my Autumn Inspiration
project. The technique on what I did is here. The bigger leaves I applied 2
colours of Distress stain, a little Gilding wax to the edges along with
raindrops from Glossy Accents. My acorns I applied Tim's crackle technique with
Clear Rock Candy painted on the surface and Distress ink added over the the top
once dry. My little pine cone and stick I had saved from a winter walk last
year.
My image is from La Blanche and was stamped onto
Speciality Stamping paper. I sprayed a little water onto my craft sheet to dip
my Distress Pens into, this way I could gradually built up my colour, as I
wanted a shabby effect without my colour shades being too bold. I tore my paper
around the edges rubbing in Distress inks to highlight the edge. I finally
added some Crackles with my stamp and placed Tim's Splatter Stencil on to add
more age and interest to my image.
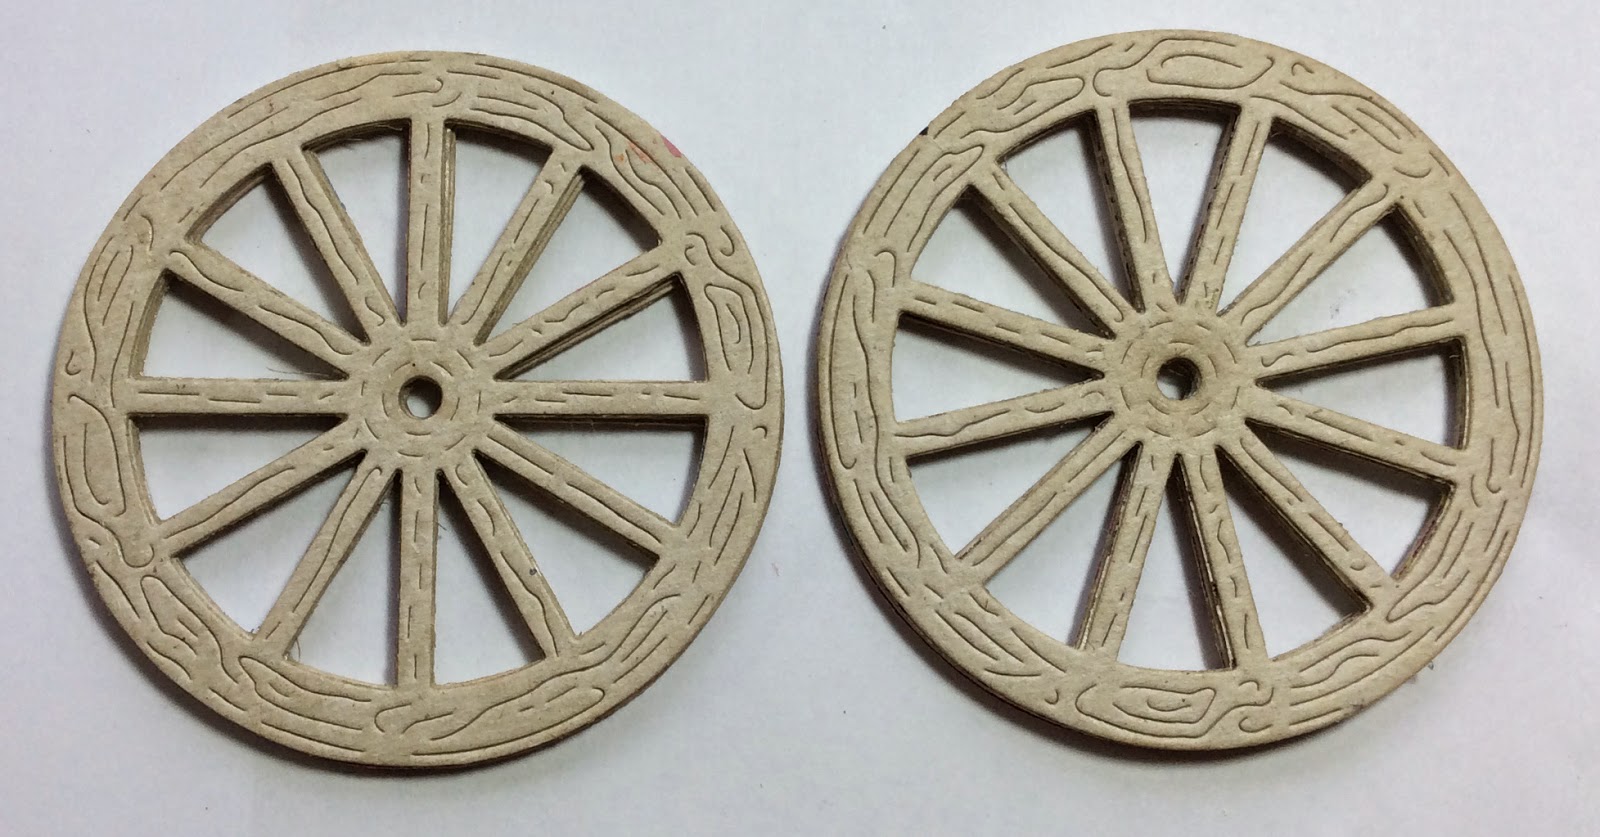
Using a Cheery Lynn die, I cut out several Wagon Wheels
from a Cereal Box. I glued them together, painted them, added a little Gilding
Wax for a highlight. Adding Tim's Hitch Fasteners, don't they just add the
perfect finishing touch.
Now for my embellishments on this project I was really
struggling, but by luck I had visited the Craft Fair in Glasgow with my
daughter last week and managed to get my wheat and raffia. The photograph that
had first given me my inspiration had Pumpkins and Breads on it and I felt this
would just finish my project off. So it was time for a little salt dough
modelling, something I haven't done in about 15 years.
The mix for salt dough is 2 parts plain flour to 1 part
salt and a little splash of oil to help make it pliable, add water until you
have a formed ball and knead for about 10 mins. Once you have the shapes you
like dry in an oven at about 75 degrees Celsius until hard. These small pieces
I made took about an hour to dry.
My pumpkin I painted with some PaperArtsy Paints
Butternut and Brown Shed. I then pressed Rusty Hinge Distress Stain on the top
and lit it drip down the sides, finally heat setting it. I pleated a loaf,
scored a loaf into sections and added poppy seeds onto the other one. They were
all sealed with several coats of Mod Podge Gloss on my pumpkin and Mod Podge
Matte on my bread. You normally seal salt dough items with varnish but I didn't
have any.
I arranged everything on my board and added some computer
generated words to finish.
I hope you are now feeling inspired to join in the
Challenge at A Vintage Journey, it would be lovely to see your creation. You
could be the lucky winner of a £10 shopping spree voucher from our sponsors
Country View Crafts where you will find lots of Tim's goodies, with free P
& P.
Take care, thanks for stopping by and Happy Halloween !
Julie x
Most of my products used you will find at :