Translator

Showing posts with label Coved Rectangle. Show all posts

Saturday, 24 February 2018

Say it with Flowers


Hi everyone, today for my DT card at Cheery Lynn Designs I am sharing some more inspiration using another of their beautiful Mega Doilies on my 
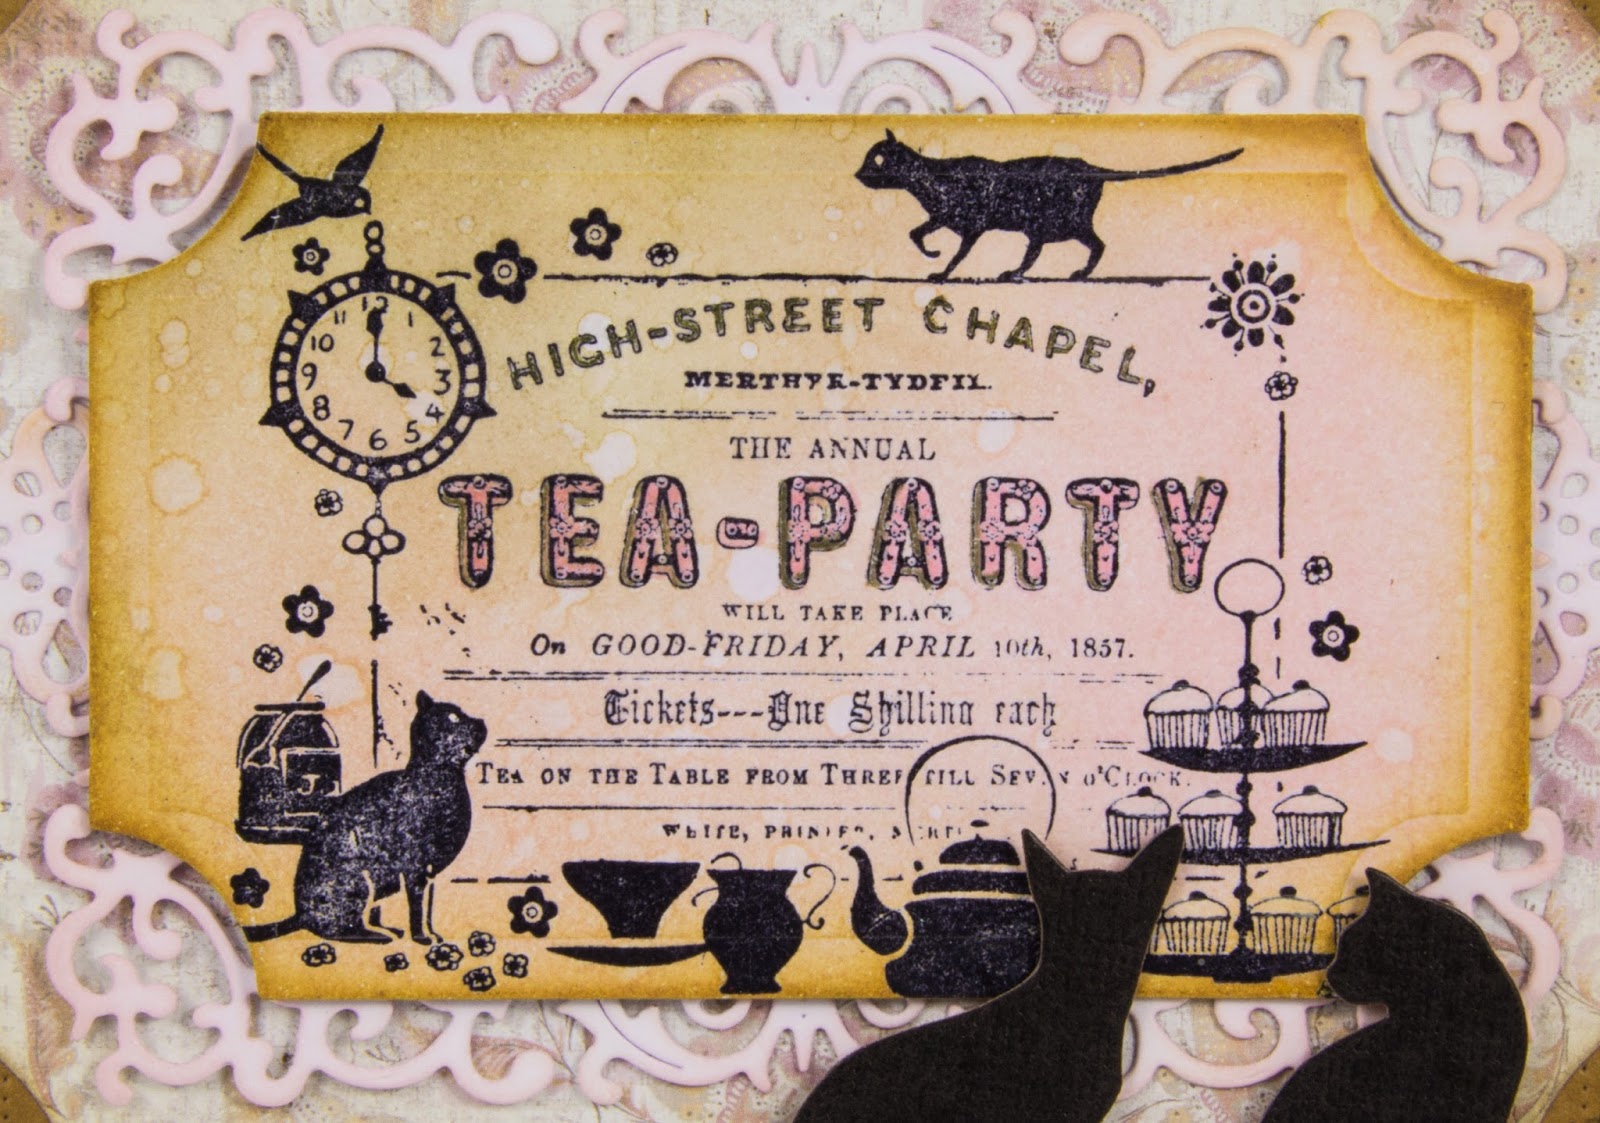
card that measures approximately 8 x 8 inches square.


The Italian Flourish Doily comes in 3 sizes and on this card I have used 2 of them on my layers. Both were cut out in white cardstock and some Distress ink added to the edges. I like to not put glue on the edges of my Doilies, only adding some to the centre. I find this helps to put a little movement into the design and softens the look.


My Daisies have 4 layers on them with a little Distress ink and a Pearl added into the centres. You will notice that two of the layers of petals are folding down the way and two folding up the way, this helps give stability to the flowers.


Happy Birthday was stamped with Archival ink and mounted onto a little cheesecloth and foam strips for extra dimension.


Finishing off with Pearl Strands, Accents of Pearls on my flourishes and a pretty double layered Butterfly.

Cheery Lynn Dies Used -
DL251 Horizon Coved Boutique Stacker Frames  

Thanks so much for stopping by today.

Crafty Hugs, 
Julie x

Sunday, 11 February 2018

Love and Cherub


Hi Everyone, today for my DT card at Cheery Lynn Designs I am sharing some inspiration using one of their fabulous Mega Doilies. These Dies are fantastic for scrapbooking with but look equally as good using as accents on cards for a WOW factor and cut beautifully. 


My card today measures approximately 8 x 6 inches and the border strip on my card is just over 2 inches. I mounted the same colour of cardstock to the inside and on my border strip which gives contrast and helps my Doily pop.


I cut into my paper using my heart Die. You can also use the heart border edge die to cut it out of the paper should you wish.


My flowers were shaped on my Embossing mat and shaded with Distress ink. I used small Pom Pom balls in the centres of my flowers which I coloured with Alcohol Ink to get my desired shade.


My sentiment was stamped onto my diecut adding a cherub which I made from a mould and paper clay. 


Finishing off my card with lots of Pearl Accents.

Cheery Lynn Dies Used -

Thanks so much for stopping by today.

Happy Crafting, 
Julie x


Friday, 15 January 2016

Cheery Lynn New Release January 2016


Hi Everyone, today I am super excited to be showcasing along with my Teamies at Cheery Lynn Designs their January 2016 New Release which has been launched at the CHA Show in California. It is a true honour knowing my cards are on display at this show. This is an amazing release with so many new dies added onto my Wishlist.

My card today showcases the beautiful Fern and Birds Nest with Eggs.


The Fern has beautiful detail and will make a wonderful accompaniment to any Floral Arrangement. The Birds Nest die comes with a choice of 3 different sizes of eggs and 2 nest shapes. Isn't it cute with the addition of my little Bird.

Please head over HERE to see my Teamies creations using some more of the New Release and the Cheery Lynn Shop for the full range.

I'd also love if you stop by my Blog tomorrow where I start a Cheery Lynn Blog hop with my Teamies and you have a chance to win $20 worth of dies. 


Crafty Hugs,

Julie x

New Release Dies-


Shop at Cheery Lynn For:

Also used Craft Consortium - English Garden Paper Pad

Thursday, 15 October 2015

Aloha Hawaii - Cheery Lynn Designs October 2015 New Release


Hi fellow bloggers, today Cheery Lynn Designs launch their exciting new October release of dies which is an eclectic mix of Travel designs, words, memory books and lacey frames. Please check out what my fellow Teamies have been up to with the new dies HERE and you can view the full range HERE.


For my card I decided to use a bright floral paper and colours to compliment these fun travel dies. My Aloha Hawaii was layered 3 times for a 3D shadow effect layering my flower in the centre.


My palm tree was shaded with Copics, off-setting another layer of branches behind the top layer for a 3D look.


Before I die cut my Monkey I crumpled a square of Kraft cardstock, next I unraveled the Cardstock and added ink over it and sprayed with a little water, re crumpling and drying with my heat-gun. This gave my paper great texture to look like the Monkeys fur. I added in my letters and eyes which had been colours with Copics.

I will be back on Saturday showcasing some more of the new dies from this release.

Julie x

Shop at Cheery Lynn for :
New Release-

Previously released-

Saturday, 22 August 2015

Frosty The Snowman


Hi everyone, this week for my DT card at Cheery Lynn Designs I am sharing with you a vintage styled Christmas card using one of our latest released Snowflake dies which comes in a set of 2.


I started by cutting out my Snowflakes in white cardstock and then sprayed Adhesive on to them and added extra fine Glitter. This way you get a lovely smooth finish that doesn't show any lumps of glue. I cut them in half and added to the corners of my first layer.


My Snowman I added Snowtex on to his body and an accent on to his hat and whilst still wet I poured some extra fine glitter over them. The embellishments were coloured with Copics and a little Distress ink at the edges for definition to the Snowman's body.


My Snowflower was glittered in the same way, layering twice and adding a Gumdrop. My Pine Branches were coloured with  Copics and Glitter added for an extra frosty look. 


Merry Christmas was heat embossed with Red Tinsel Embossing Powder.

Thanks for stopping by today.

Julie x

Shop at Cheery Lynn for:

Wednesday, 15 April 2015

Cheery Lynn Designs April New Release


Hi Everyone, Cheery Lynn Designs launches their 2nd New Release of the year today and WOW what an amazing release this is. I'm sure when you check out all the designs HERE you will agree we have been thoroughly spoiled with an amazing release. 

On this card I am showcasing 4 of the new dies.


The centre shows the new Royal Scandinavian Tag 2 which comes with an extra swirl die which I have placed around the outer edge of my circle to compliment my tag. My Bird comes in a Set of 4, LOVE them and their amazing detail. You will see them in some more cards over the next month.


The Pierced Stackers are fab - notice all the little holes around the edges, such a pretty finish to the edge. 


The new Leafy Flourish comes in a set of 2 and is so pretty with the little flowers. I cut it out in plain cardstock and layered on a die cut layer of pattern cardstock for my flowers.

Over at the Cheery Lynn Designs Blog my fabulous Teamies are also showcasing more of the New Release, please pop over HERE to see their amazing cards.

Thanks for stopping by and I will be back on Saturday showcasing some more from the New Release.


Julie x

Cheery Lynn New Release dies:

Other Cheery Lynn dies:

Saturday, 28 March 2015

Tea Party


Hi Everyone, thank you for all your lovely comments last week for my Daffodil tutorial they were all very much appreciated. When I was a little girl I loved having Tea Parties with my pet cat - Lucky, who would sit quite happily watching me. This inspired me to make this card for my Cheery Lynn Designs DT post this week which I am sharing with you all today.


Notice how I have mounted my corner die cuts behind my card layer to give a different look and softened the edges of my paper with Ink for a Vintage look.


My layers now together mounted onto my card which measures roughly 6.5 x 5.


My centre image was stamped in Black Archival ink and heat embossed with clear ink. I added Distress ink to age and shade my paper, placing onto the Alpine Flourish Doily with a little Silicone Glue to raise my topper slightly.


My cute little cats were also placed on with Silicone Glue. Aren't they adorable !

Thanks for stopping by today to see my post and I will see you all next week.


Julie xx

Shop at Cheery Lynn for:
I Wish To Enter This In To - 

Crafty Individuals March Challenge - The Animal World. 

LinkWithin

Related Posts Plugin for WordPress, Blogger...
01 09 10