Translator

Sunday, 30 August 2015

Mixed Media Mum


Hello fellow bloggers, thanks for stopping by to see my DT post for That Craft Place and the start of our new challenge which runs for a fortnight called Mixed Media - Anything Goes. All the links are on my sidebar for Lisa's shop our natter and chatter group on Facebook and the blog. It would be lovely if you have time to pop over and see what my Teamies have been making too.


I was recently trying to tidy up my craft room and came across a lot of little embellishments and things I have had lying around for a long time. The idea then came to me to do a Finnabair inspired canvas using a photograph of my mum.


Here are some close ups of it finished. 


I had glued everything in to place and added a coat of Gesso then applied more embellishments repeating the process until I was happy with my design and layers.


I covered my photograph with a rag and started to spray on my paint which had been watered down in a spritz bottle. Once finished I added some Gilding Wax to highlight some of the areas.

Hope you get a chance to join in the challenge and thanks again for stopping by.

Julie x 

Saturday, 29 August 2015

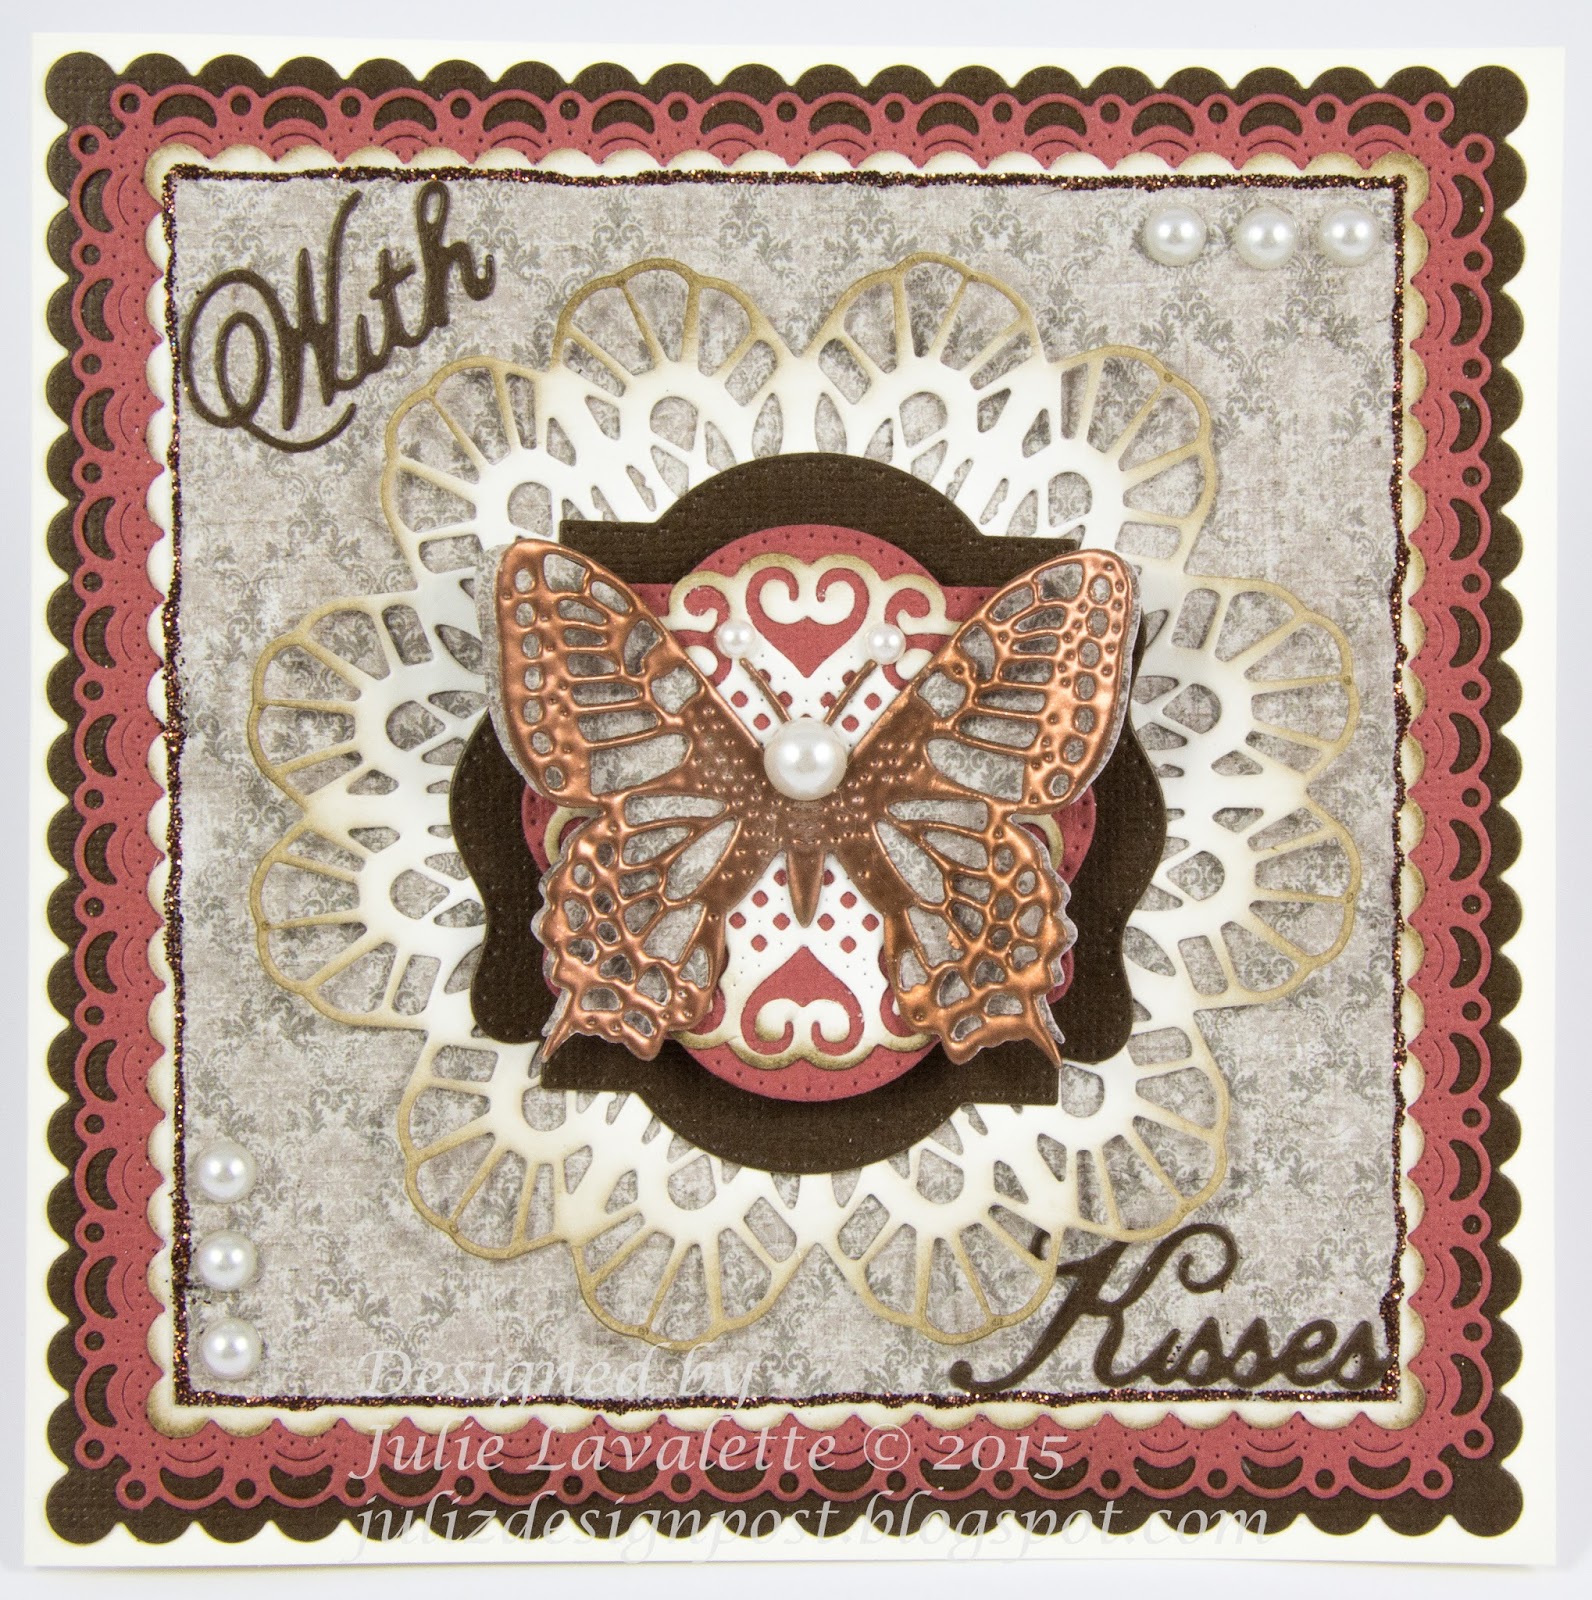
With Kisses


Hi Everyone,  Cheery Lynn Designs do the most wonderful Butterfly dies in many different styles and sizes with Angel wings for perfect layering. So for my DT card this week I thought it would be nice to show you all how they can hold centre stage on a card for a wow factor.


I started by matting and layering my stacker dies to give a detailed border with contrasting colours and adding some Copper Stickles around the edge of my centre mat.


My Doily was cut out in Cream Cardstock and shaded with Distress ink, matting onto my Pierced stackers along with my Lords and Commons Super Doily. My Butterfly was heat embossed with Copper Embossing Powder and layered onto my Angel Wing Die, finishing off with a few pearls and a Sentiment.

Thanks for stopping by today.

Julie x

Shop at Cheery Lynn for: 

Saturday, 22 August 2015

Frosty The Snowman


Hi everyone, this week for my DT card at Cheery Lynn Designs I am sharing with you a vintage styled Christmas card using one of our latest released Snowflake dies which comes in a set of 2.


I started by cutting out my Snowflakes in white cardstock and then sprayed Adhesive on to them and added extra fine Glitter. This way you get a lovely smooth finish that doesn't show any lumps of glue. I cut them in half and added to the corners of my first layer.


My Snowman I added Snowtex on to his body and an accent on to his hat and whilst still wet I poured some extra fine glitter over them. The embellishments were coloured with Copics and a little Distress ink at the edges for definition to the Snowman's body.


My Snowflower was glittered in the same way, layering twice and adding a Gumdrop. My Pine Branches were coloured with  Copics and Glitter added for an extra frosty look. 


Merry Christmas was heat embossed with Red Tinsel Embossing Powder.

Thanks for stopping by today.

Julie x

Shop at Cheery Lynn for:

Saturday, 15 August 2015

Thankful Harvest


Hi everyone. In Scotland the Farmers are now ploughing their fields and bringing in their Harvest, which made me think of using this wonderful New Release die 'Thankful Harvest' for my DT card this week at Cheery Lynn Designs. I love the versatility of it as it suits Thanksgiving cards perfectly and would also be lovely on an Autumn Birthday card or a Recipe Book project to name a few.


I cut out my centre square highlighting the stitches with a Fineliner pen, also using my Burlap Border as a die cut and a stencil to add some extra interest on to the background.


My Wheatheads I layered twice for extra dimension adding the little bow double layered from the Mistletoe Die.


My Thankful Harvest I cut out in White Cardstock and started to shade the fruit and vegetables with my Copics and the basket I shaded with inks. I filled my Pumpkins layering up twice for a 3d look. My Grapes I kept all the small bits of waste, shaping them on my embossing mat and gluing back in place with a little Silicone glue to raise them up, finally added Glossy Accents to give them a sheen. My corn I had embossed with my die (TECHNIQUE HERE) trimming around the cob and shading with Copics before gluing in place.


Thanks for stopping by today and for all the lovely comments you leave me, they are always greatly appreciated. 

 Julie x

Shop at Cheery Lynn for :


LinkWithin

Related Posts Plugin for WordPress, Blogger...
01 09 10