Translator

Showing posts with label Rectangle Pierce and Cut Tool. Show all posts

Saturday, 15 July 2017

Veriloquent Vintage Release Blog Hop - Cheery Lynn Designs July 2017


Today at Cheery Lynn Designs is Blog Hop day and what an outstanding release of stunning Vintage Dies this is. You are going to want them all !

I squealed with excitement when I saw the Gramophone ( Phonograph Die ), it reminds me of the Gramophone that sits in my dolls house. So let me show you how I built this Die up.


I started by cutting out my Die twice in Kraft Card, once in Miri card and once in Black card. I then trimmed all the sections I wanted in each colour and kept one complete section to glue all my parts onto.


I coloured my Kraft Card with a dark red and dark brown pen to give the look of mahogany wood, gluing all the sections together. Doing this helps to give added dimension to your die cut.


I also added a little gloss varnish onto my record and cut out the middle section with an old book page. 


Finishing with touches of Stazon Rusty Brown Ink at the edges of Miri Card to age it slightly.


My sentiment was stamped with Archival Ink and mounted onto the beautiful ornate new Dusty Miller Square Die.
Finishing my card with some pretty flowers and musical notes.

Thanks for stopping by and I'd love for you to leave me a comment before you hop over to LISA'S BLOG to see what beautiful Vintage Dies she has used on her card. 

Be sure to finish the Hop to be in with a chance of winning a $20 Shopping Spree at Cheery Lynn Designs.

Crafty Hugs, 

Julie x

Cheery Lynn Dies Used :
LPC16 Rectangle Pierce and Cut Tool

Tuesday, 3 January 2017

2017 Happy New Year


Hi to all my crafty friends and a Happy New Year to you, I hope it's a wonderful year for us all.
Today for my DT card at Cheery Lynn Designs I am sharing my inspiration with the fun 2017 Shaker Die and have added the sentiment that comes with it. This die would also look amazing recording any special memory for this year, a special birthday, the birth of a baby and a graduation to name a few.


I added the Happy New Year confetti into my shaker along with a mix of micro beads and added a shadow layer to 2017 to make it pop.


Thanks so much for stopping by today and I hope you feel inspired to making a shaker card, Cheery Lynn have a brilliant selection of these dies you can check out HERE.

Until next time,

Crafty Hugs, 
Julie x  

Monday, 14 November 2016

Happy Winter Card


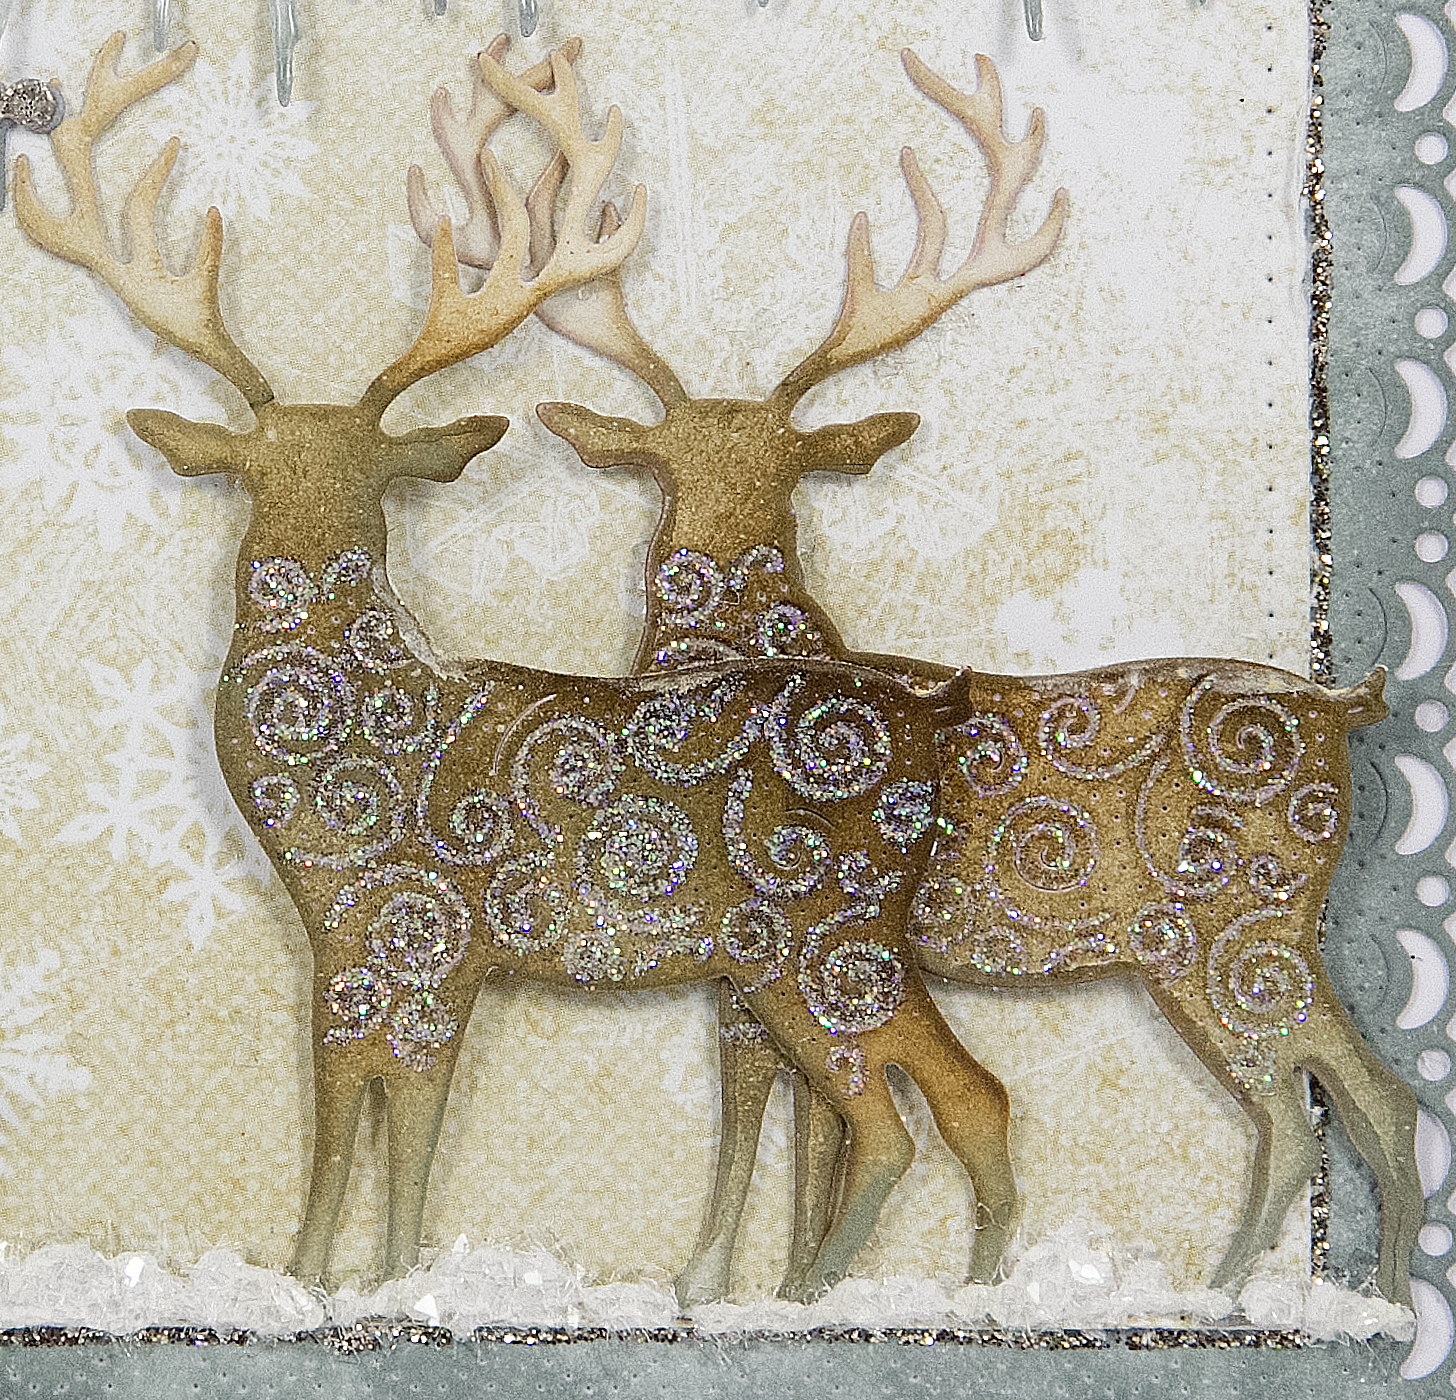
Hi everyone, hope you had a lovely weekend.Today for my DT card at Cheery Lynn Designs I am sharing some inspiration with my Festive Winter card, so let me share my tips on this card with you.


I started by mounting a couple of Stacker Layers together to form the frame of my card adding Stickles around it. My Icicles I also added a little Stickles onto the white cardstock and let it dry. Once dry I used Iced Spruce Distress Ink at the tips of my Icicles and finished with a layer of Glossy Accents for an icy look.


My sentiment and snowflake were heat embossed with two shades of Silver embossing powder. 


The Fir trees are die cut from the versatile Camping Set, I also shaded with Iced Spruce and I ran a glue pen along the embossed areas and added an extra fine glitter for added sparkle.


My reindeer were also shaded with Distress Inks adding some sparkle onto them in the same way I did my trees. I do love how you can add the extra sparkle onto the embossed areas.


To finish my card I used a Snow Writer Pen adding onto my trees and as a layer of snow on the ground. Whilst still wet I added some clear Glass Glitter for extra sparkle.

Thanks for stopping by today and good luck to everyone entering Cheery Lynn's Bi-Weekly challenge.

Crafty Hugs, 

Julie x
Shop at Cheery Lynn For -

Saturday, 6 August 2016

New Year Bells


Hi everyone, today I am showcasing some more dies from Cheery Lynn's fabulous new release on my Festive card. In Scotland as the time changes from one Year to the next at midnight we associate this with hearing bells and fondly name it "The Bells". So I decided to combine the Happy New Year with The Christmas Bells onto my card.


My Happy New Year was layered twice for a shadow effect adding on my party hats which had been embossed with Red Tinsel Embossing Powder. Finishing with some snow accents using a Snow Writer pen and Glamour Dust for added sparkle.


I sprinkled a scattering of Frantage on my Holly Leaves, shaded my Berries with Distress inks adding Glossy Accents for a realistic look. My bells were shaded in two colours of Gold Pens adding a little Archival ink to give them an aged feel. I layered up with foam tape for some extra dimension. I also think the bells would look amazing on a Wedding card.

Thanks for stopping by today to see my post and I do hope you get some Creative Time over the coming week to enter the Current Challenge - Back to Nature over at Cheery Lynn Designs with a chance of winning a $20 shopping spree.

Have a lovely weekend, 

Crafty Hugs, 
Julie x

Shop at Cheery Lynn For:


LinkWithin

Related Posts Plugin for WordPress, Blogger...
01 09 10