Translator

Showing posts with label A Vintage Journey. Show all posts

Friday, 5 August 2016

Stencil It - A Vintage Journey


Hi Everyone, today over at A Vintage Journey we start a new challenge for this month called Stencil It, hosted by my super talented teamie Amanda.

I was taking the ongoing photographs with my iPad and unfortunately they vary quite a bit in colour from the finished picture as it was a very dark wet day. My finished photos have been taken in a light tent, but I felt it was important to share all my techniques so am still showing these photos.

Let's get started.


I added a coat of Gesso to my canvas and a layer of black Gesso around the outside. I stamped my Wildflower onto Tim Holtz mask Sheets with Stazon Ink and cut it out. 


I placed the mask onto my canvas and added my Stencil on the top. I then went over with a layer of crackle paste. Once dry I sprayed a variety of Lindys Stampgang Sprays.


I now removed my mask.


I stamped onto a paper hankie my Wildflower and tore around the edges. Using the top layer I decoupaged in place with Mod Podge.


I stamped my Wildflowers onto Watercolour card wth Archival ink.


Shading them with Distress Inks and cut them all out.


Adding my decoupaged flowers onto the corner of my frame, layering up with Silicone glue. Highlighting areas of crackle and my flowers with a touch of gilding wax.


Finishing off with my MDF word Home which was heat embossed with coordinating Lindys powders.


A final look at the finished project.

Love for you to leave a comment and then hop over to see the amazing inspirational projects my Teamies have created at A Vintage Journey. You will also find all the details on this month long challenge, I do hope you get a chance to join in. 

Crafty Hugs,
Julie x

Monday, 1 August 2016

Destination Inspiration Terminal 5 - A Vintage Journey


Hi Everyone, today I am over at A Vintage Journey with a tutorial on the techniques I have used on my card. Love for you to pop over HERE.


Crafty Hugs, 
Julie x
Friday, 3 June 2016

Memories - Textures and Embossing Pastes at A Vintage Journey


Hi fellow bloggers, today at A Vintage Journey we start a new challenge hosted by my talented teamie Astrid called Textures and Embossing Pastes.

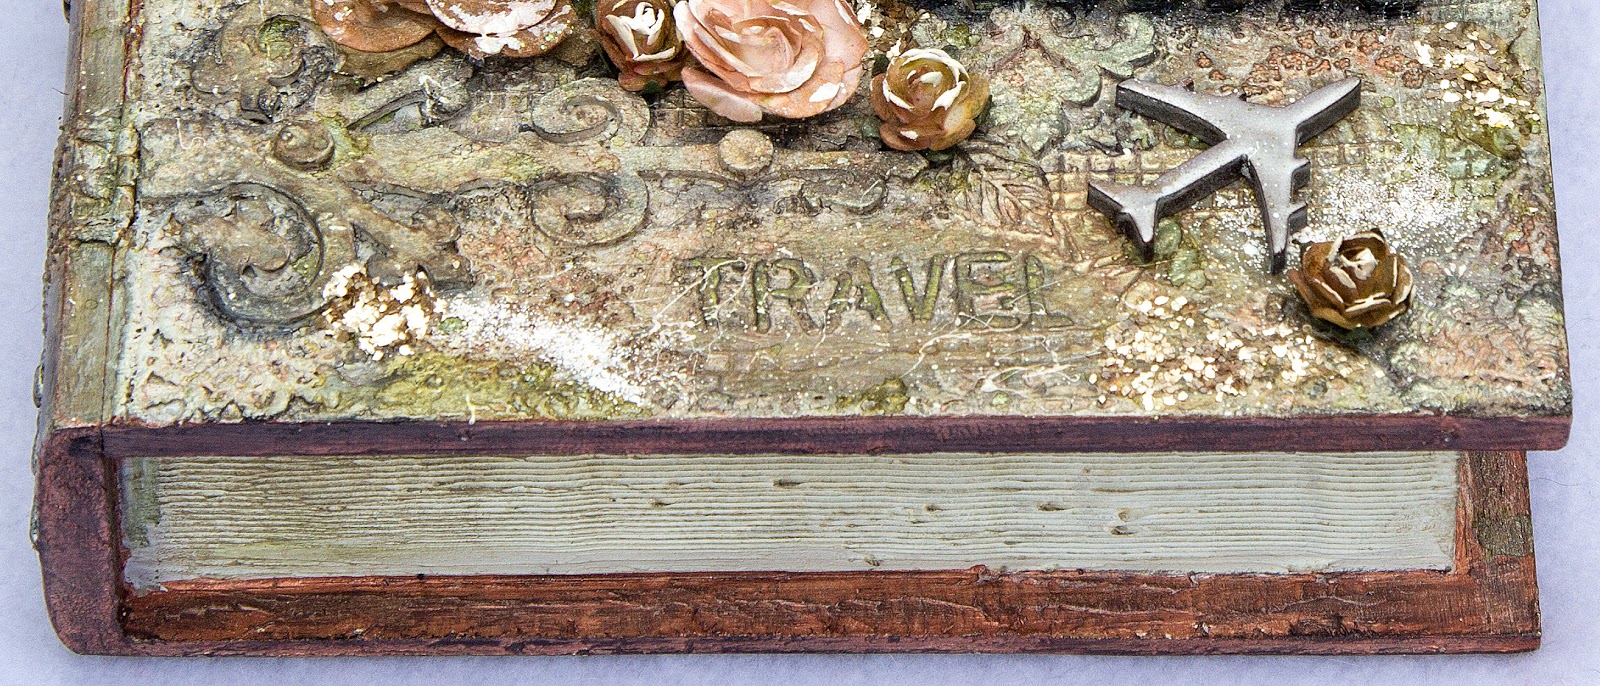
For my inspirational DT project I decided to alter a wooden book box to give to my daughter for her Birthday. She travels worldwide as Cabin Crew and likes to hold onto keepsakes from the many places she visits, so my box has been inspired by this.

Lots of photos to show you now, with tips to some of my techniques. 


I started by applying dry wall tape, tissue paper, lace and words with embossing paste through a TH stencil.


The spine of my book.


The edge of my book I wanted to look like book pages. I applied embossing paste and used a comb over it.


Once dry some Archival ink was rubbed over to dirty it up.


I added Greyboard hinges and more lace to the front, also some texture paste to the corners. I then forgot to take ongoing photos.....sorry !

Once I was happy with all my texture I gave it a coat of White Gesso and started to spray with Lindys Stampgang sprays in a variety of shades until I was happy with my colours.


A close up of the textures also adding Micro Beads and Distress Glitter. Frantage and Gilding Wax applied.


Sizzix postage Die was cut out a few times in Mountboard layering up with a photo of my daughter and her precious cat Gucci.


My word Memories and the Plane were covered in a variety of embossing powders.


The inside of my box was layered with TH Ephemera and postage stamps Kirsty had brought home from her travels, with a layer of felt .


On the inside of the lid I have layered a Decoupage Paper from Craft Consortium. Adding a photograph of her with her partner and using Cheery Lynn dies and a MDF word she brought me home from her travels.


Finishing off with some metal embellishments and highlights of Gilding Wax. My daughter adores her Keepsake box and I know will treasure it.


A full view of the open box, and now some close ups to finish off.


Please hop over to A Vintage Journey to see the wonderful inspiration from my Teamies and details on how to enter our challenge, which runs for a month.

Thanks for stopping by my blog.


Crafty Hugs, 
Julie x

I would like to enter this in to the following Challenges:

Friday, 6 May 2016

Sew Special - A Vintage Journey


Hi Everyone, thanks for stopping by. Today we start a new challenge at A Vintage Journey hosted by my super talented teamie Jenny. She has chosen the theme Sew Special.

I love this theme and was so pleased to be joining in. I always feel you can go to town with embellishments, die cuts and lace on a sewing project.


My edges of my card were all tattered for a shabby feel inserting small strips of lace and adding a distressed styled stitching.


My centre strip I added 2 layers of die cuts, some lace and stitching. My tag images were distressed at the edges and some gold embossing powder was heat set onto them.


Finishing off with more lace and haberdashery embellishments. Please hop over to A Vintage Journey to see all the wonderful inspiration and find all the details to enter this challenge.

Happy Crafting,

Julie x 


Friday, 4 March 2016

A Vintage Journey - DI Travel Bag


Hi Everyone, first of all I would like to say a massive thank you to everyone for stopping by my blog and at A Vintage Journey to see my recent DI Post. I loved reading all your comments.

Can you believe it's our 2nd Birthday at A Vintage Journey this month and Nikki is hosting the Latest Challenge called DI Travel Bag. It's a spin on our Destination Inspiration Posts and this time you get to play with the various items in the Travel Bag. Please check out the blog HERE for full details.

Sorry I don't have a photo tutorial to share, I started this late at night when lighting was awful.


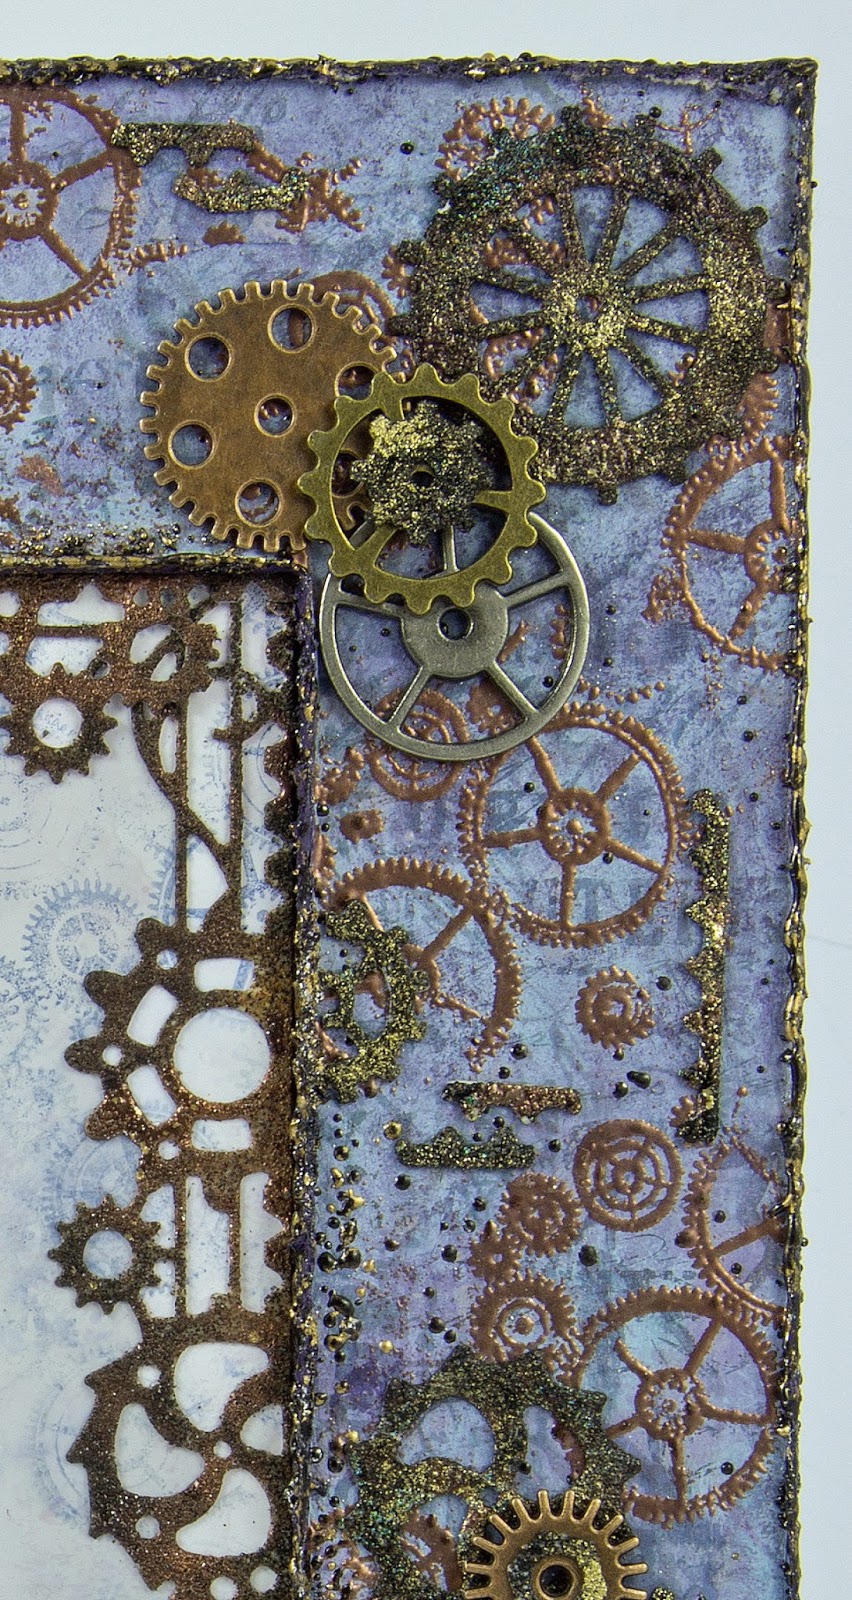
My frame is GreyBoard ( 8"x10" ) and was covered in 3 shades of acrylic paint. I stamped on some text from Tims Papillon set with Archival ink, I then stamped and heat embossed some Copper Cogs.


I scraped Tims Scissors (love these) around the edges of my frame to give a tattered look. I finished off the edges by rubbing Versamark around the edges and heat setting a variety of Embossing powders in place.


My cogs and little strips were all embossed with Distress Powders and a sprinkling of enamel powders in different shades for a rusty look.


My hinges I used Andy Skinners rust technique's on YouTube and added a little Liquid Pearls for nails.


My Deep Red image was stamped in Archival ink onto Speciality Stamping Paper. I shaded her in with my Distress pens and a waterbrush, once dry, I rubbed with my finger some Distress Micro Glaze over my image to protect it. I added some Distress Stains onto my mat and swiped my image through. Once I was happy with the shade on my paper I stamped on some more cogs with Archival ink.


I finished off by arranging all my embellishments and adding some metal details.

Thanks so much for stopping by today and please hop over HERE to A Vintage Journey to see all the amazing projects from my Teamies and full details on our Challenge. Our wonderful sponsor is Andy Skinner, his mixed media creations are sensational - if you are not familiar with his work do check out his Website. Andy has kindly donated a fabulous package to this month's lucky winner which will be made up of his brand new stencils and stamps.

Crafty Hugs,
Julie x

Cheery Lynn Dies Used -


Monday, 29 February 2016

Hop on over to - A Vintage Journey


Hi Everyone, It's my turn to be hosting the Destination Inspiration post over at A Vintage Journey today. 
It would be lovely if you popped over HERE to see my full tutorial on my card.
Happy Crafting,

Julie x

Cheery Lynn Dies Used:


Sunday, 13 December 2015

Secret Santa at A Vintage Journey


Hi there, what an exciting day for us all at A Vintage Journey. A few months ago Brenda put all our names into a hat and revealed secretly to us all who we would be making a gift for. I was told that Jenny from Pushing the Right Buttons was to receive my gift. I was so excited about getting Jenny, having met this lovely lady back in August at Wendy Vecchi's workshop made my Secret Santa gift feel extra special to make.

I decided a Tree Decoration would be a lovely keepsake gift that could be taken out each year and remind Jenny of Secret Santa at AVJ.


My daughter had brought me several little Birdhouses home from Michaels in America, sadly this was my last one but I'm sure she will be making a trip again with her work soon to get me some more. I started by giving it a coat of paint and Weathered Wood. Next adding a thick Layer of white Crackle paint.


Sorry I don't have any more ongoing photos as I got so excited with the Crackles Lol. Let me just show you on my photos.


Next I added a thick layer of paste around the base of my house and onto areas where I wanted it too look like snow had fallen onto mossy areas. I then dripped 2 shades of Green Alcohol Inks onto these areas along with some chunky white embossing powder along with a finer white and sparkly ones and let it completely dry.


Once dry I heat set the powders, they expanded and gave a super snowy effect.


My roof is sheets of Bark available from That Craft Place (links on sidebar) which I glued in layers onto my roof.

I sealed my crackle effect with Deco Art Matt Varnish and sprinkled on some Glamour Dust for a Glistening effect whilst still wet. Next I start to sprinkle on several layers of different snowy embossing powders from Frantage and Wow powders.


Next I added Deco Art Glistening Snow Writer to form icicles around my house adding on extra sparkle from Glamour Dust.


My Icicles on the roof were die cut and Heat Embossed with Wow powders. More heat embossed snow on the roof.


My cute little Robin was shaded with Distress Inks and Black Liquid Pearls adding onto his eye. My little date sign was made from a Coffee Stirrer. I used a crackle effect and added some Red Glistening embossing powder to the edges to frame it. My date was added from Tim's Transfer Sheets.


Around the back you will see all the effects applied again and a Transfer from Tims Sheets.

My Secret Santa was Alison from Words and Pictures, I was lucky to meet this wonderful lady at Andy Skinner's workshop in November so was really pleased to learn my gift was from her. She has made me this amazing nostalgic 3D Christmas scene, I love Dolls Houses so this was the perfect gift for me. I absolutely adore all the incredible details and when the light is switched on at night as its sits on my Fireplace Hearth it looks glorious.


And if that wasn't enough she also sent me some bags filled with embellishments for my stash which I have shown a few and the super Festive Tag. Thanks so much Alison, I feel honoured to have a Crafty Keepsake from you.


Please stop by Alison's BLOG to see more photographs and details of my gift.

I can't wait to hear what Jenny thinks of her gift from me and see what the other Creative Guides have made. Please pop over HERE to see the reveal.

LinkWithin

Related Posts Plugin for WordPress, Blogger...
01 09 10