Translator

Saturday 28 February 2015

Wedding/Celebration Stationery


Hi Everyone, today I am sharing with you my DT project for Cheery Lynn Designs. With the Wedding Season fast approaching I thought it would be nice to share some Invitations with you today that could easily be adapted for any other celebration/occasion.


Here is a close up photograph of my Wedding Invitation. In the aligning up of the dies my DT mate Sandy shows how to do this in a Tutorial HERE, so I won't go into details.


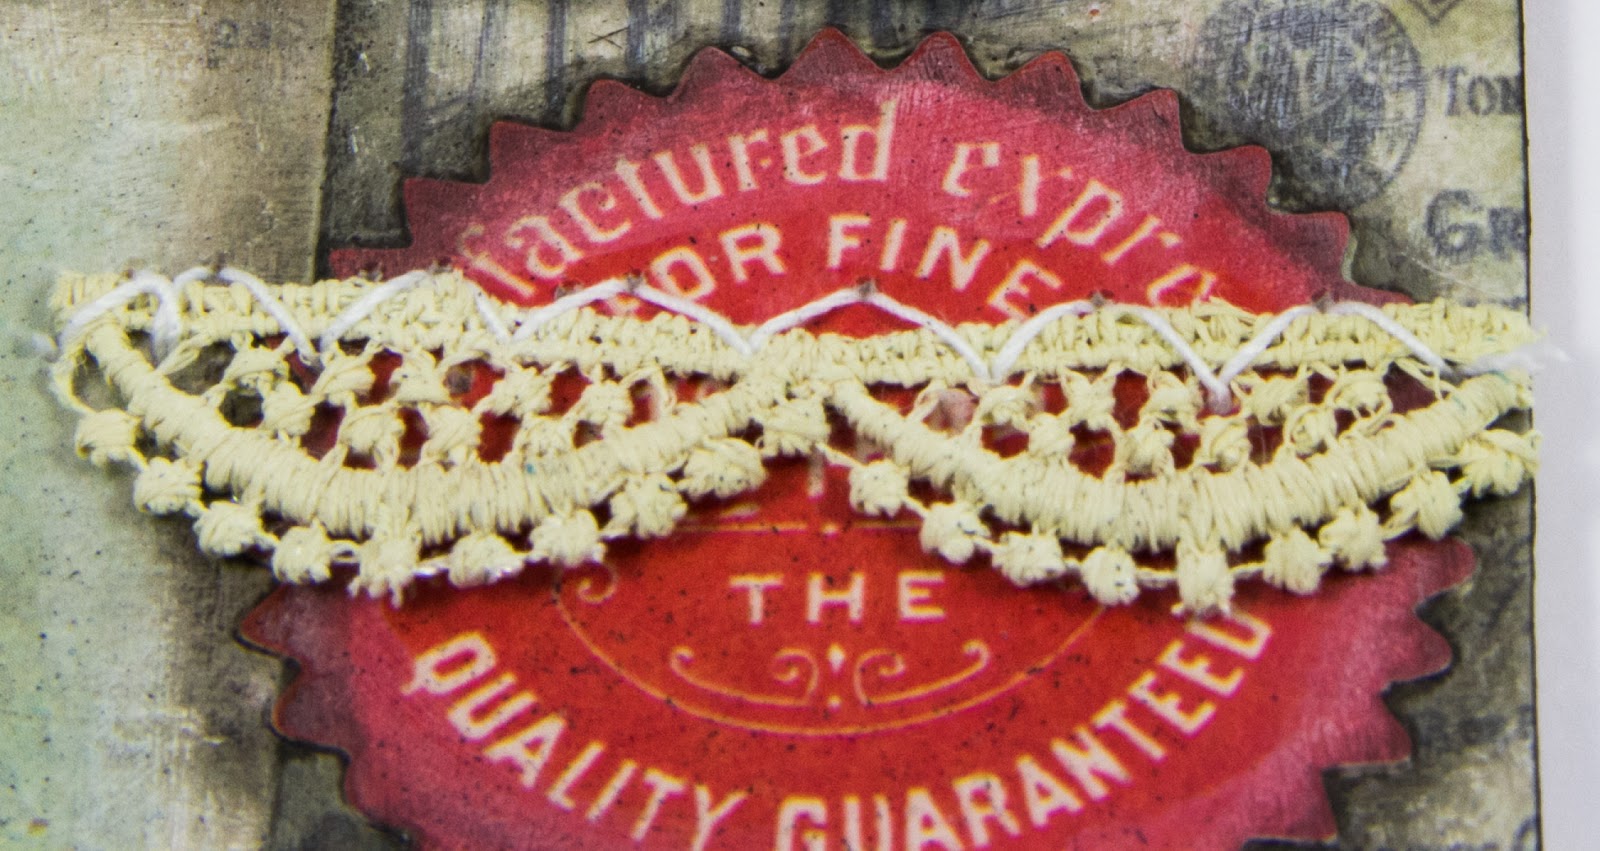
My words were stamped using Archival Ink and a little Stickles was added for sparkle, along with some gems. I attached my ribbon using extra strong tape tucking in the edges before matting onto my card.


My Evening Invitation compliments the Wedding one. I stamped directly onto my card with Archival Ink adding on my mats and layers, Stickles and a few gems. I kept this card simple, so several could be made should you have a lot of invitations to make.


My Place Settings were made be cutting out the scalloped rectangle, scoring down the middle and adding my die cut layer. Bride and Groom were handwritten on. You could also computer generate your names and cut out before layering on.
  
Hope you have enjoyed my post and have a great weekend.
See you all next week.

Julie x

Shop at Cheery Lynn  for :

For the Wedding Invitation


For the Evening Invitation


For Place Cards


Wednesday 25 February 2015

Tim's Tag February 2015


Hello Everyone, I can't believe once again we are fastly approaching the end of the month. My Tim Tag I started just before Valentine's Day, as my daughter wanted to make one for her boyfriend and I think with crafting along side her and assisting her in parts, I totally forgot to do some ongoing photos.


I absolutely loved Tim's Tag and techniques used this month and incorporated some personal memories onto it.


You will see I added a little bird in the corner. Chris and I just recently shared a wonderful day at a Birds of Prey centre having a Falconry Experience. On Valentine's Day he also surprised me with a dozen Red Roses. What a Darling !


I didn't have Tim's Love Card so decided to stamp my letters and Decoupage on using Tim's collage technique.


My corner I cut out in Mirriboard and scratched with my Scratchy Tool and rubbed a little Black Soot DP on to it.


My ribbon was once again torn from an old sheet, scrunched and dyed with stains.


My Rose wire I wound around a cocktail stick and stitched to my felt.


My piece of lace I had lying around from a previous project which it had been coloured with Antique Linen DP.


Hope you have enjoyed my post and thanks for stopping by. 

Julie xx

I wish to enter this in to :

Saturday 21 February 2015

Easter Chicks


Hi Everyone, today for my DT card at Cheery Lynn Designs I thought it would be nice to share an Easter card with Spring colours and these three gorgeous little Chicks from our recent CHA release.

Here are the steps on how to make it, this first photo shows the reverse side.


Using the French Flair Scalloped die cut the largest die in Orange and Green cardstock. Cut the Orange layer in half, down the middle and attach with adhesive onto the back of your Green layer for a shadow effect around the edges.
Repeat this process using the second largest French Flair Scalloped die and Yellow and Striped Pattern Paper.


Die cut Happy Easter in Orange, Yellow and Green cardstock offsetting and adhering each layer together.


Die cut your Easter Chicks in Orange and Yellow cardstock again slightly offsetting. Lift the Yellow layer of wing slightly up. On the reverse of your Chick lightly press the point of a Black Pen into the centre of the eye. This now defines the eye area.


Die cut your Heart Oval in White Cardstock and mount Yellow card in the coordinating die cut from the Classic Ovals.


Cut out your Shasta Daisy Strip in White Cardstock and using your Craft Dauber or a small ball of cotton wool begin tapping some Scattered Straw ink into all the centres.


Once dry shape petals on a foam mat with a stylus tool. Assemble layers up to desired effect with adhesive. Finally adding a layer of Flower Soft into the Centres with adhesive.
Die cut the Leaf Strip in Green and shape leaves on a foam mat with stylus tool.


Using a square card 5"7/8 by 5"7/8 start to adhere you layers onto your card as in photograph. Adhere Happy Easter with glue onto the Oval Centre and then layer onto the card with foam pads.
Finally arranging and adhering on the Chicks, Leaves and Flowers to the card to finish.

I hope you have all enjoyed my tutorial and feel inspired.
See you all next week.

Julie xx   

Friday 20 February 2015

Special Numbers


A warm welcome to my new followers and regular visitors to my blog. Thank you so much for all the lovely comments left on my first Destination Inspiration post at A Vintage Journey it was a pleasure to read them all and to find out which one was your favourite. 

Today we start a new challenge at A Vintage Journey called Special Numbers, which Brenda is hosting.  

My eldest Daughter adored Tim's tag for February and wanted to make one for her boyfriend, so we sat together both making one, which was lovely. She recently relocated to London to follow her dream working as Long Haul Cabin Crew so time together is precious. With this in mind I decided to make her Birthday card incorporating the style of background from Tim's tag along with techniques she admires when I make something. 


You will see in this group of photos I used Tim's Painted Industrial technique, adding some Distress Powders in areas for a Faux Rust effect.


Collaging my background and sealing.


Once dry I gave a quick sand....SCREAM, I realised I used the coarse side of my sanding pad and it removed part of my map. The air was Blue....LOL, but I heard Tim's voice saying 'Embrace Imperfection' so rather than it going in the bin I carried on, adding my paint into the cracks, drying and resealing.


I went around my collage with my Distress Pen and then added some stitching to the side along with Sizzix Torn Notebook edge which I distressed with Black Soot and embossed to curl it.


The plane is from Tim's new Ephemera Pack. Thanks Susan for the speed you got this to me. I covered it in a layer of Glossy Accents.


My metal embellishments I rubbed a little Black Soot paint onto. Can you guess my Daughter's age !


My edges were distressed and a little Black Soot added and a few number Remnant rubs.


My metal leaf I added Pumice Stone and Peeled Paint Distress powders. Finishing with a little Black Soot Paint and bending the metal to add movement to my leaf.


My flower was made using the 2 sizes of  Sizzix Tattered Florals, with a mix of colours and Mica Spray.


Please pop over HERE to A Vintage Journey to see all the other talented Creative Guides inspiring projects and the details on how to enter. CountryView Crafts is our generous Sponsor of a £10 Shopping Spree for the winner.

Thanks for stopping by today,


Julie xx

Saturday 14 February 2015

Forever Yours


Happy Valentines Day to everyone and a warm welcome to my followers old and new. For my Cheery Lynn Designs DT card this week I have made a very Ornate Vintage Style Valentines card using lots of layers, dies and a coordinating pack of papers.


In this photograph you will see how my layers started on my card. I tattered some edges and added Distress Ink for an aged look along with a little Muslin tucked around my layers, also adding a few pearls around my clock.


My main flower, stamens were added into the centre along with a little Gesso to the edges of the petals. My Chrysanthemums were folded in half, offset, glued in place and the petals ruffled. Leaves were rubbed at the edges with a little Distress and a wooden heart added.


My heart I paper pieced back in the centre with a different shade of paper and Pearls added. The word Forever was layered twice for depth.


I colour tinted my image and added it on to the Alpine Flourish frame.


Finishing off my card by adding Pearl swirls and a delicate butterfly.

Hope you have a fabulous weekend and see you all next week.

 Julie x

Shop at Cheery Lynn For :


Monday 9 February 2015

Up - Cycled Flowers


Hi Everyone,

Today is my very first post hosting Destination Inspiration over at A Vintage Journey and I am nervously excited. I have had great fun making Upcycled Tattered Flowers, using Tim's Mini Tattered Floral dies.

I'd love for you to pop over HERE and see my Tutorial on what I used for up-cycling along with the techniques I used to achieve my results.

Before I go, I would like to give you a heads up on some changes coming at a Vintage Journey. 
On March the 6th we will be celebrating our first birthday and we will have a special challenge and some prizes for you. The most significant changes will be a move to a monthly challenge theme with a gift voucher of £20 from Country View Crafts. In future the winner will be chosen at by Random Org but we will continue with our top 3 Pinworthies and our Pinterest boards. The structure for the month will change and Fridays will very much be about projects and guests and Mondays will hold a completely new format of Destination Inspiration posts linked to a monthly menu of a product, a colour, a technique and a Substrate. Mix those four things with four Creative Guides and there will be some wonderful informative posts for you. Some of the months will include five weeks and when this happens you will see the return of our very popular Tag Fridays. So stay tuned and keep the date in your diary - don't forget the 6th March, but for now enjoy our current Tic Tac Toe Challenge.

Julie x


Saturday 7 February 2015

8x8 Nautical Themed Layout


Hi Everyone and welcome to my new followers.Thanks for all your get well wishes and lovely comments on my card last week, truly appreciated, especially when I am so far behind visiting your blogs. Today for my DT post at Cheery Lynn Designs I am sharing with you an 8x8 Scrapbook Layout using a photograph of my Dad in the early days of his career in the Merchant Navy.


I started off by tearing out a section from an old map and adding some Distress Ink on to it to age it further and mounted it on to Cardstock which had been torn and distressed at the edges with my Distress tool.


I cut out my Ships Helm and added highlights with a Gold Pro marker.


Next I cut out my Anchor and highlighted the chain. 


You will see in this photograph I layered it up twice for a shadow effect, cutting the die cut in half gave me the expansion I needed for this effect.


My frame was cut out and highlighted with some Gilding Wax, my Ships Helm Die was once again accented at the side of this frame.


I trimmed the photograph of my Dad and added a White Border to help make the White on his Cap and Shirt pop forward. I don't yet have the Word Die Dad, so I paper pieced from my words Daughter and Birthday to get the word Dad.


I now trimmed a lighter shade of Blue Cardstock to 7.5 inches square and placed my Deutschland Border around the perimeter, once cut I Distressed the edges and mounted on to White Cardstock of the same size to highlight the beauty of this die.


Finally layering all my Layout onto an 8x8 piece of Dark Blue Cardstock. I added the Fishtail Banners which were trimmed down and curled at the edges adding a little star in the centre.

I hope this Scrapbook layout has inspired you to get creative. 

Now some exciting news for all the Cheery Lynn Design fans, we have a current DT call which you can check out HERE  for all the details if you fancy becoming part of a fabulous team.

Thanks for stopping by today and have a wonderful weekend,


Julie x

Shop at Cheery Lynn for: 


LinkWithin

Related Posts Plugin for WordPress, Blogger...
01 09 10