Translator

Friday, 28 February 2014

Ronald’s Rustic Garden


Hello to all my crafty bloggers. I hope this week finds you all well and full of lots of creativity. For the first part of this week I have been working on a different project as it is going to take some time to make, but I have now got to all the fussy little bits on it, my favourite part, so hope to have on my blog some time in the near future. Whilst crafting this week I was thinking of inspiration to incorporate some of my favourite challenges together. My craft room window faces into my back garden where I love to listen to the birds and watch their antics, especially, my beloved little Robin I call Ronald - you may recall one of my very first posts last year featuring Ronald on a card. My spring flowers are all starting to flower now in the garden. Its so lovely to see the Snowdrops, Daffodils and Crocuses.


Unfortunately, I have no on-going photos of this project with Chris being at work, but lots of nice close ups now its finished. To start this project I got a piece of corrugated cardboard from my ever growing pile. I ripped off part of the top layer in some areas to reveal corrugation and left the top layer in other areas so I could stamp on. I gave it a coat of Gesso applying it with a baby wipe. I then shaded 3 colours of paint over it, finally stamping my seeds stamp with Archival ink and scattering some Frantage over it.


My leaves were die cut out of a grey/green paper and I stamped with a leaves stamp on the top to give added texture with Archival ink.


My flowers were made using CL Shasta Daisy and cream felt. The dies cut through the felt without any problem. I sprayed the felt with a little water and then swiped through some tattered rose distress stain. I then scrunched the felt together to blend the ink in a little more and dried them with my heat gun, finally popping them through a brad. The idea of putting the Wagon Wheel into the centre of my project came again from my garden as I have one sitting outside that has lots of flowers around it in the Summer.


My words and die cut hinge were made using Kraft paper. I stamped with Archival ink and added a little dot stamp with Rusty Hinge Stazon Ink and then heat embossed images.


Ronald was made die cutting the Sizzix Caged Bird with a piece of cardboard. I then placed a retro squares stencil over the top of him and applied Grunge paste. Once dry I added several layers of paint and sanded back in areas. His eye, I made from first putting a dot of Gunmetal Stickles onto the card and when it was dry I place a dot of Glossy Accents on it. Distressed edges with a little Black Soot and rubbed over a little Gilding Wax.


I placed a couple of eyelets onto my work using my Crop-a Dile. Layered all my pieces together and touched with some wax.

Tomorrow, I am off to Craftworld over at Hillington in Glasgow for a craft class using embossing powders, with my Crafty friend. So should be an enjoyable couple of hours in the afternoon.

Hope you all have a lovely weekend.

Take Care, Julie xx

I wish to enter this in:

Its All About theVintage – Lace
Fashionable Stamping - Anything Goes Challenge

Products Used :
Cheery Lynn Dies- Pair of Ferns B118, Wagon Wheel B386, Hinges B399, Shasta Daisy B310.
Sizzix Bigz Caged Bird.
PaperArtsy Paints Irish Cream, Tinned Peas, Choc Pudding, Brown Shed and Grunge Paste. Stencil Retro squares ( Sorry don't know the name )
Stamps  - Stampendous Seed words, Paperartsy MN72, Inklycious Leaves, Jofy Plate 11. Tattered Rose Distress Stain, Black Soot Distress ink. Versafine Spanish Moss, Olympia Green and Versamark.
Stampendous Clear detail powder, Aged Green Frantage.
Felt, Pearls, Brads and Lace and garden twine all from stash.

Tuesday, 25 February 2014

Die Storage Frame

Firstly, Thanks to everyone for their continued support visiting my blog and Hello to my new followers. I love getting all your comments.

 My post today is to share an idea I had for storing my dies and to make them easier to access rather than searching through folders. I think the majority of us who are lucky enough to have craft rooms find they are still never big enough and how valuable every little bit of space is. This was originally a cheap mirror from the bargain shops measuring about 4ft x 1ft. 


Step 1 : Stick Woodware self adhesive magnetic sheets to a mirror.

Step 2 : Cut 6 x 6 paper pad into triangles, and make a patchwork effect. I used a free paper pad from a magazine.


Step 3 : Apply Modpodge over Magnetic Sheets and place papers on.


Step 4 : Seal with Modpodge. Once dry, hang on wall and place your dies on.


Hints/tips : Use a thin paper on your magnetic sheets so you don’t lose the magnetic strength.


Hope this is useful to you all.
 Julie x

Saturday, 22 February 2014

Happy Birthday Dad


Hi Everyone, This is my second attempt to write my blog as I have just lost all that I had written on my laptop, which has just come back from being sorted for the second time. SCREAM ! So I am sorry but this will just be mainly a photo post as I have a few things to do today.

Firstly, Thanks to Rita for the inspiration on her blog here to make one of these cards. It was a delight to make. You will get instructions how to make one here .


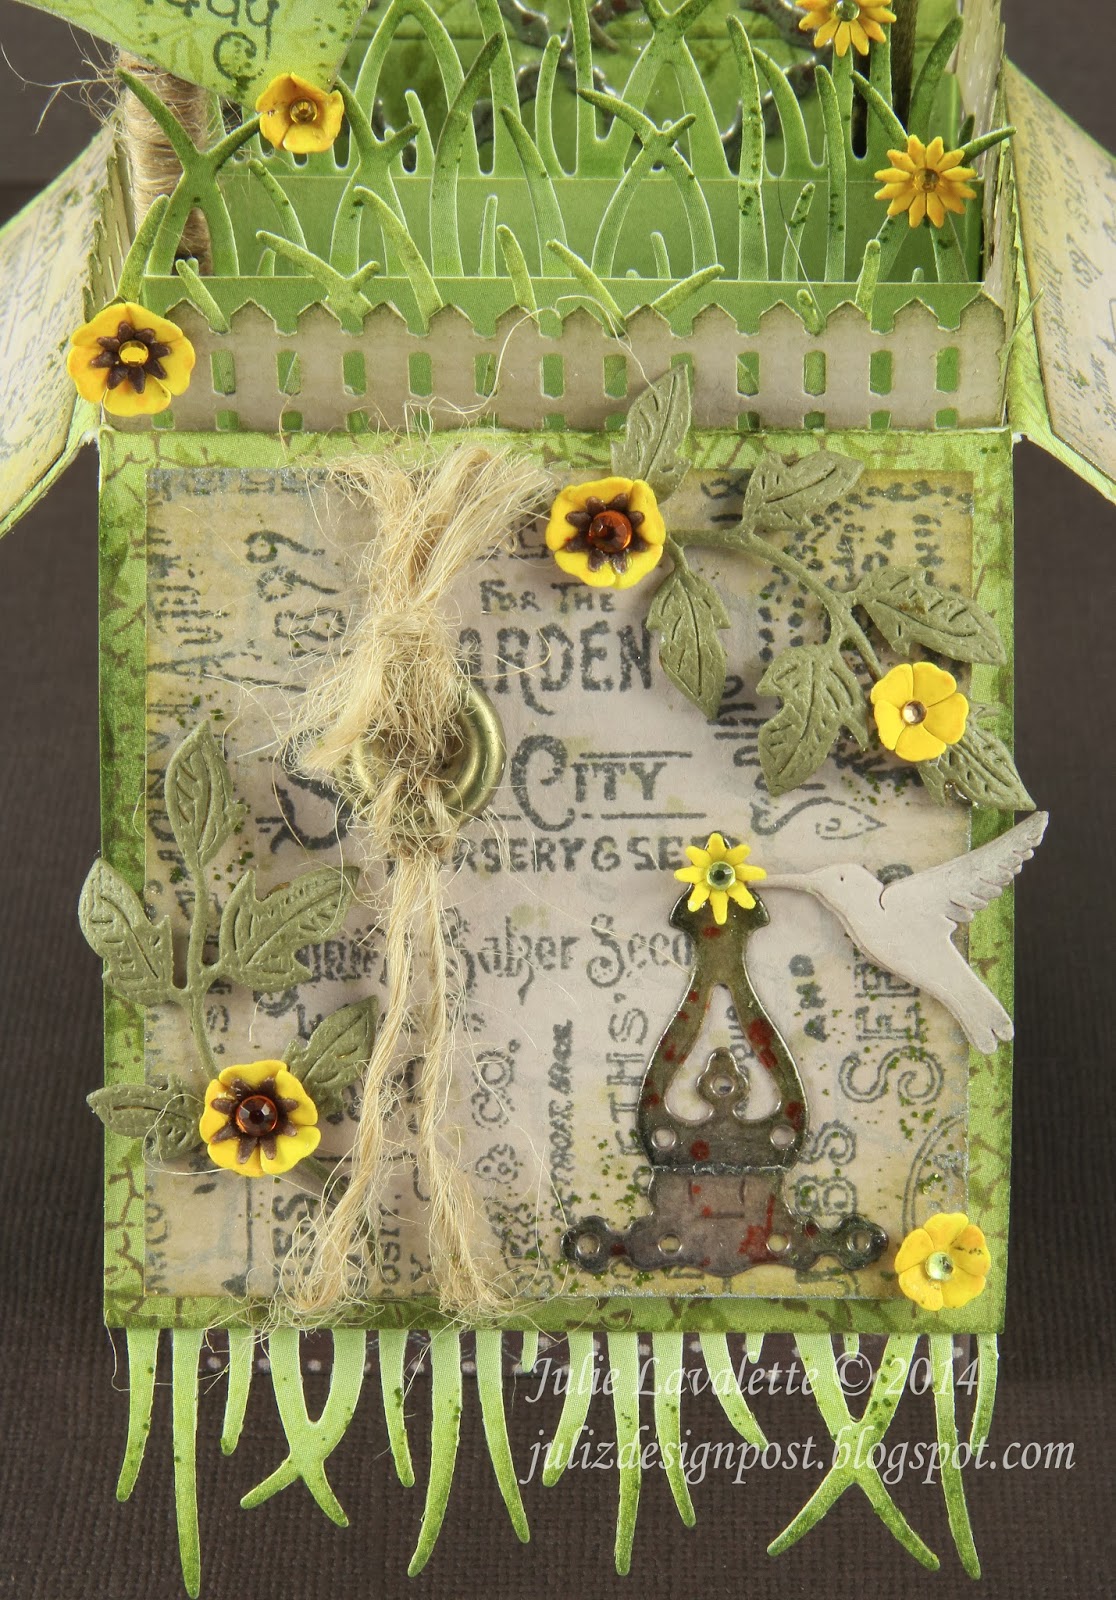
Its my Dads Birthday this weekend and I decided to make a Garden card for him. I do hope you like it and if there is anything you want to know about techniques please drop me an email. I do love too share my tips. 


 Various close up views showing more 
of the detail.  


My flower started off as a white piece of cardstock


As you can see here the card folds up neatly then springs out to create this wonderful Garden !


Here I have shown the hinge die cut out then after applying my techniques to produce this wonderful finish.

Hope you all have a lovely weekend.

 Julie x


I would like to enter this into :

Cheery Lynn - Shaped Card Challenge

Crafty Little Fairies - One for the Boys Challenge

That Craft Place - Make or Alter a box Challenge

Cheery Lynn dies used :
Blackeyed Susan Strip B338, Flourish Leaf Strip B178, Hinges B399, French Lattice Frame small, FRM 132.


Thursday, 20 February 2014

Flowers On A Log


This week I am rather excited to share this post with you all, as I was so pleased with the result and hope you like it too. I have had some fun making several Handmade Flowers. I love how each flower can look so different just changing colours and the way you build them up. My Husband and I love going around Car Boot Sales especially on a nice hot summers day. Unfortunately, we have not managed to get to them in the past few years, but we still have several of our finds around the house.  I purchased one day a little vintage ornament that resembles a log with porcelain flowers on the top. You often see these with flowers chipped on them, so I was so pleased it had no damage and I probably purchased it for a Pound.I have often looked at it and thought I could replicate it in some way, so with making all my flowers I thought it was an ideal project to do.


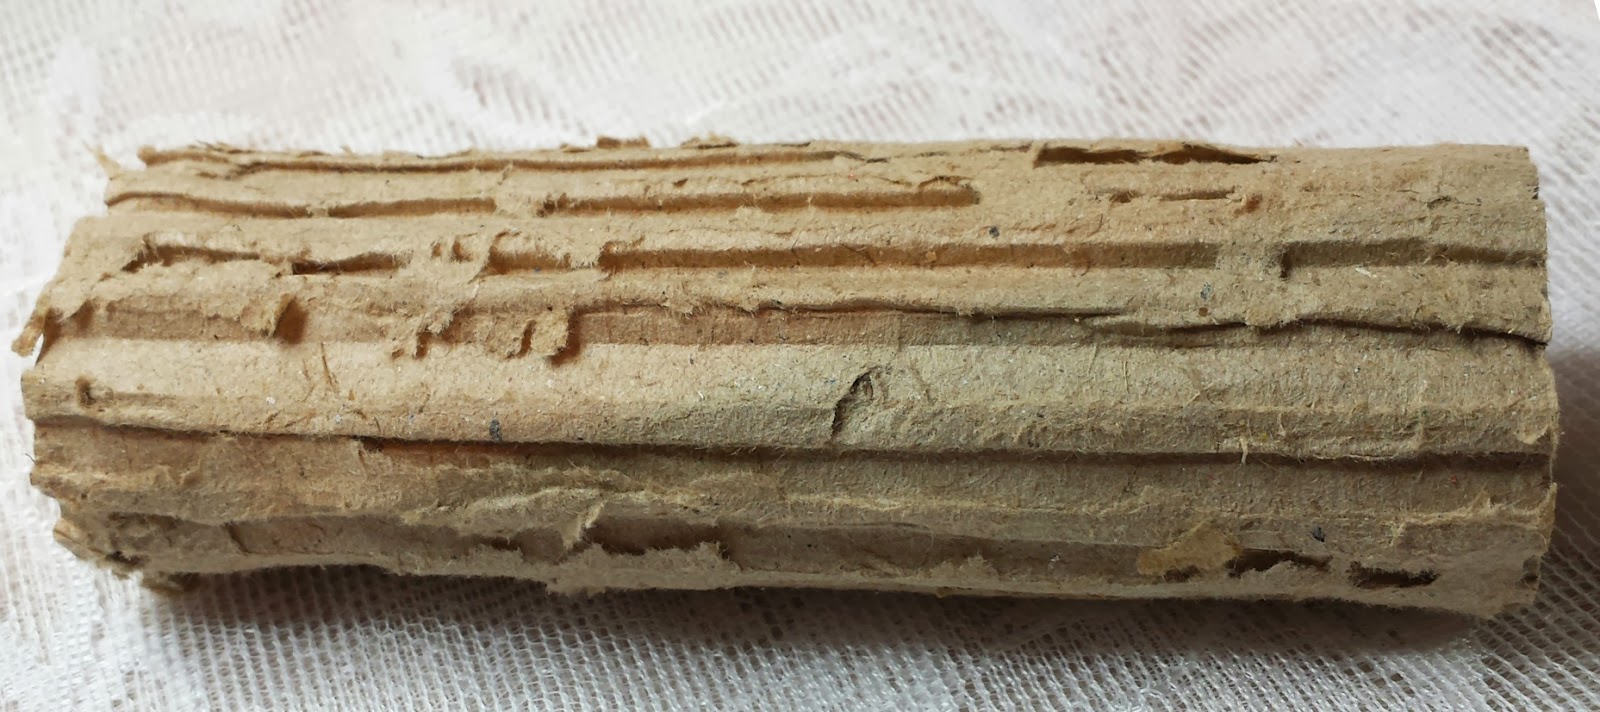
The log was made from my new Crafters Best Friend....Cardboard. I tend to keep every bit of packaging I get at the moment and had a piece of cardboard I ripped the top layer off to reveal the corrugation. I glued and rolled my cardboard up into an oval round shape. I then painted with several colours and stamped some ink on to achieve the look of my log. I sealed with Mod Podge matte and rubbed on a little gilding wax.


Using a piece of white cardstock I die cut out my leaves with Magnolia Rose leaves die. I then applied Bundled Sage distress stain, which pooled into the parts of the embossed veins of the die cut. I dried with my heat gun and then went into the edges with the co-ordinating ink pad and stamped on a script stamp again using sage distress ink. Had I used Archival, I would have had a crisp image left of the script, but I just wanted to leave textures of ink. So when I pressed the molded leaves into my Versamark the script image blurred into just texture with distress ink being reactive to another fluid. I double embossed to give the look of China. This would also give me a contrast from my matte finished flowers.


All my flowers started off from white cardstock being die cut. I like to use Pergamano Glue when making my flowers as it takes grip quickly.
My Carnations were made using the CL Sweet Williams strip. I shaded the petals with distress inks and then rippled the petals by bending the paper over my tweezers.


My Daisy was made using the CL Shasta Daisy strip. I shaded with distress ink and stain and stamped a number stamp on with Archival Ink. The centre has Flower soft in it.


My Gardenia was made using the CL Gardenia strip. Shaded with Tattered Rose Distress.


My Rose buds were made using CL Large and Medium rose, shaded with Distress Ink and Stains. The leaves on the roses were shaded with distress stain and then I stamped with Versafine ink a script stamp.


This flower was made with an old die (not sure what its called). I shaded with Distress and stamped a leaves stamp with Archival ink and distress. The Yellow Rose was made in the same way, sorry don't seem to have a close up image of this one.


I have made several flowers over the past couple of days as it has been trial and error placing the different sizes and colours to see what looked best, so I now have plenty in my craft stash. Finally, I decided on their placement and positioned my leaves and flowers onto my log with pinflair glue.


Hope you have also managed to get some crafting done this week. Look forward to catching up with your blogs and I would love to hear your comments on my Flower Log.

Take Care, Julie x

I would like to enter this into :
  
Frilly and Funkie - Bloomin' Marvellous
WLVC Challenge 20
Crafty Hands - Heat and Dry Challenge
Vintage Udfordring - Challenge 75 Paint/Spray
ABC Challenge - F is for Flowers
Fashionable Stamping Challenge - Build it Up


Products Used : Dies and glue as listed in text, Paperartsy MN23, Magnolia script stamp, Inkylicious small leaves stamp.Distress Inks and Stains : Tattered rose, Bundled Sage, Milled Lavender, Shaded Lilac, Victorian Velvet  and Scattered straw.
Distress Paints : Walnut Stain, Antique Linen and Forest Moss. PaperArtsy paints Little Black Dress and Chocolate Pudding.Archival Ink : Pale Ochre and plum. Versafine Spanish Moss. Versamark, Stampendous detailed clear powder.Flowersoft Raspberry Fizz, Treasure Gold White Fire.  


LinkWithin

Related Posts Plugin for WordPress, Blogger...
01 09 10