Translator

Showing posts with label Kori Kumi. Show all posts

Thursday, 12 October 2017

Love You Longer


Hi everyone, for my DT post with Craft Consortium I have made a mixed media wall hanging which measure approximately 6.5" x 9.5".


I started by adding some Rose Gold paint around the edges of my wood panel and then added a sheet of paper which I tattered at the edges before gluing in place. I continued layering up with tattered torn layers which had lace added to the edges for a shabby vintage feel. These layers were all glued in place with foam strips to add extra dimension.


My frame I mounted my bridal couple into was purchased from a bargain shop. I painted it in a coordinating soft pink adding some lace and Gilding Wax.


I used my Kori Kumi Die Cut leaves and Heat embossed with Rose Gold to give a metallic feel. I added a Resin Rose into the centre of my Shabby Ribbon Rose. Finishing with a stamped sentiment and lots of pretty Pearl embellishments.

Thanks so much for all your lovely comments and please do check out Craft Consortium and follow them on Facebook and Instagram for regular inspiration and giveaways.


Crafty Hugs,

Julie x
Tuesday, 23 May 2017

Sneaky Peak for Create and Craft


Hi everyone,  thanks so much for once again stopping by my blog, I so appreciate your visits. Today for my DT post with Craft Consortium I am sharing a sneaky peak of my Lighthouse using the award winning Kori Kumi collection which will be shown on Create and Craft at 2pm on Friday the 26th May.


My Daughter managed to get my Lighthouse for me on my 'Virtual Shopping' trip to Michael's in the US, she FaceTimed me from the store and I went shopping from the comfort of my sitting room....how cool is that !


So I started off by adding some paint onto my Lighthouse and then covered the walls with pretty papers and added die cut windows from Cheery Lynn Designs.


Next I had fun adding lots of embellishments that come in the Kori Kumi Collection and my 3D Decoupage image.


A close up of the top


Finally a picture of the back of my Lighthouse.

Please do check out Craft Consortium and follow them on Facebook and Instagram for regular inspiration and giveaways.

If you would also like to have the chance of becoming a Guest Designer with Craft Consortium and winning a Paper pad of your choice,  please share your craft projects with us by tagging Craft Consortium on Facebook or on Instagram at #ccmakes. 

Crafty Hugs, 
Julie xx

Friday, 19 May 2017

Kori Kumi Lollipop Card


Hi everyone, thanks for stopping by today to see my DT post with Craft Consortium using their award winning collection called Kori Kumi. I decided to make a fun lollipop card with these sweet papers and could just see a little girl having fun carrying this around on a Summers Day.


I started by cutting out my Italian Flourish Doily four times and folded it in a concertina style to form my card. Adding on pretty layers and a 3D Decoupage image of Kori Kumi and making a few flowers using the flower Dies from the collection.


I stamped my sentiment on the back also layering up with the pretty papers and die cut shapes.

Products Used -

Cheery Lynn Doily Dies

Please do check out Craft Consortium and follow them on Facebook and Instagram for regular inspiration and giveaways.

If you would also like to have the chance of becoming a Guest Designer with Craft Consortium and winning a pad of Gypsy Gypsy papers,  please share your craft projects with us by tagging Craft Consortium on Facebook or on Instagram at #ccmakes.

Crafty Hugs,
Julie x

Tuesday, 2 May 2017

Kori Kumi Colouring Books

Hi Everyone,

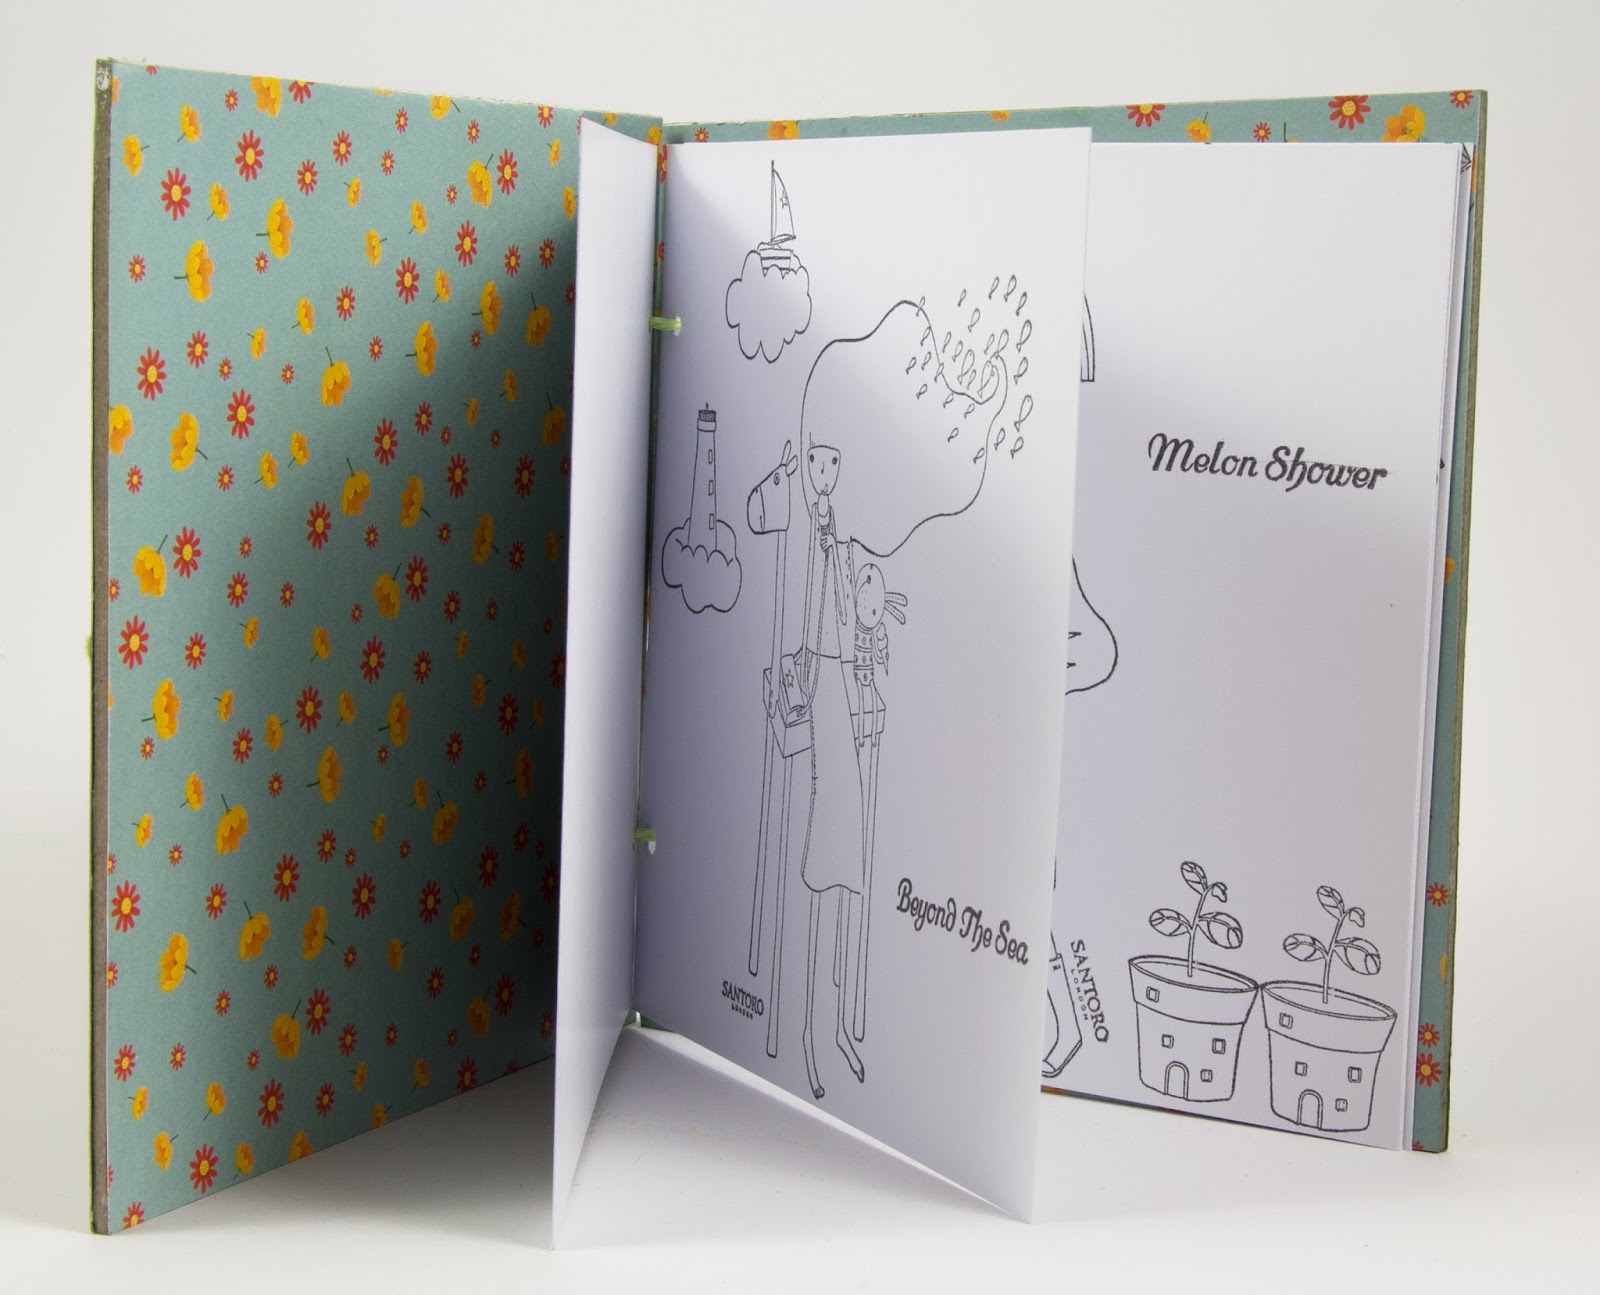
Today for my DT post with Craft Consortium I have made 2 Colouring books using the range of stamps that comes in the Kori Kumi Collection. These are fun books to make and make an ideal present or fun to take on holiday to colour lying in the sun.


My first book showcases Phase One Kori Kumi using the papers and embellishments to make my cover. My binding has been made using a few brads to hold it together.


My second book was made by covering Chipboard and showcases Phase Two Kori Kumi using the papers, stamps and embellishments from the latest collection.


I stamped and embossed my words with White Embossing powder. 


My clouds and flowers I added Glossy Accents to them and poured over Flocking Powder - LOVE this product and the effect and detailed dimension it gives.


Both my books have about 6 pages with a selection of stamped images and scenes to colour.

I hope I have inspire you to make one of these fun books. Please do check out Craft Consortium and follow them on Facebook and Instagram for regular inspiration and giveaways.

If you would also like to have the chance of becoming a Guest Designer with Craft Consortium and winning a pad of Gypsy Gypsy papers,  please share your craft projects with us by tagging Craft Consortium on Facebook or on Instagram at #ccmakes

Crafty Hugs,
Julie x


Friday, 21 April 2017

Kori Kumi Scrapbook


Hi everyone, today for my DT post with Craft Consortium I am at last able to share my scrapbook I made using Kori Kumi Phase One and the newly launched Phase Two. If you were luck enough to attend Paperworld in Frankfurt you may have seen my Scrapbook there. My book measures approx 11 x 11 inches.


I started by covering chipboard pages with my papers from the second collection, I used a mixture of Mod Podge and Cosmic Shimmer glue and weighted them down to dry. Next I sanded the edges to give a shabby feel.


 My shaker frames have been made by adding foam tape around the wooden photo frames and filling with sequins and seed beads.


My flowers have all been made using The Kori Kumi flower Dies.


Now I will just share lots of close up photos using embellishments from both collections.  


To see the full range of Kori Kumi products please head over to Craft Consortium HERE. Follow them on Facebook and Instagram for regular inspiration and giveaways.

If you would also like to have the chance of becoming a Guest Designer with Craft Consortium and winning a pad of Gypsy Gypsy papers,  please share your craft projects with us by tagging Craft Consortium on Facebook or on Instagram at #ccmakes.

Crafty Hugs, 
Julie x

Thursday, 6 April 2017

Craft Consortium - Santoro Kori Kumi latest Collection

Hi everyone, for my DT post with Craft Consortium I am sharing a few craft projects with the newly launched Santoro Kori Kumi range. This new range has a complete collection of papers in 12x12, 8x8, 3D Decoupage, rubber stamps and a fabulous collection of embellishments from beautiful flower buttons, flocking powder, wooden characters and sequins to name but a few.


My first project shows how the previous collection combines beautifully with this new collection and uses and 12 x 12 paper and flower dies, pennant flags from the first collection.


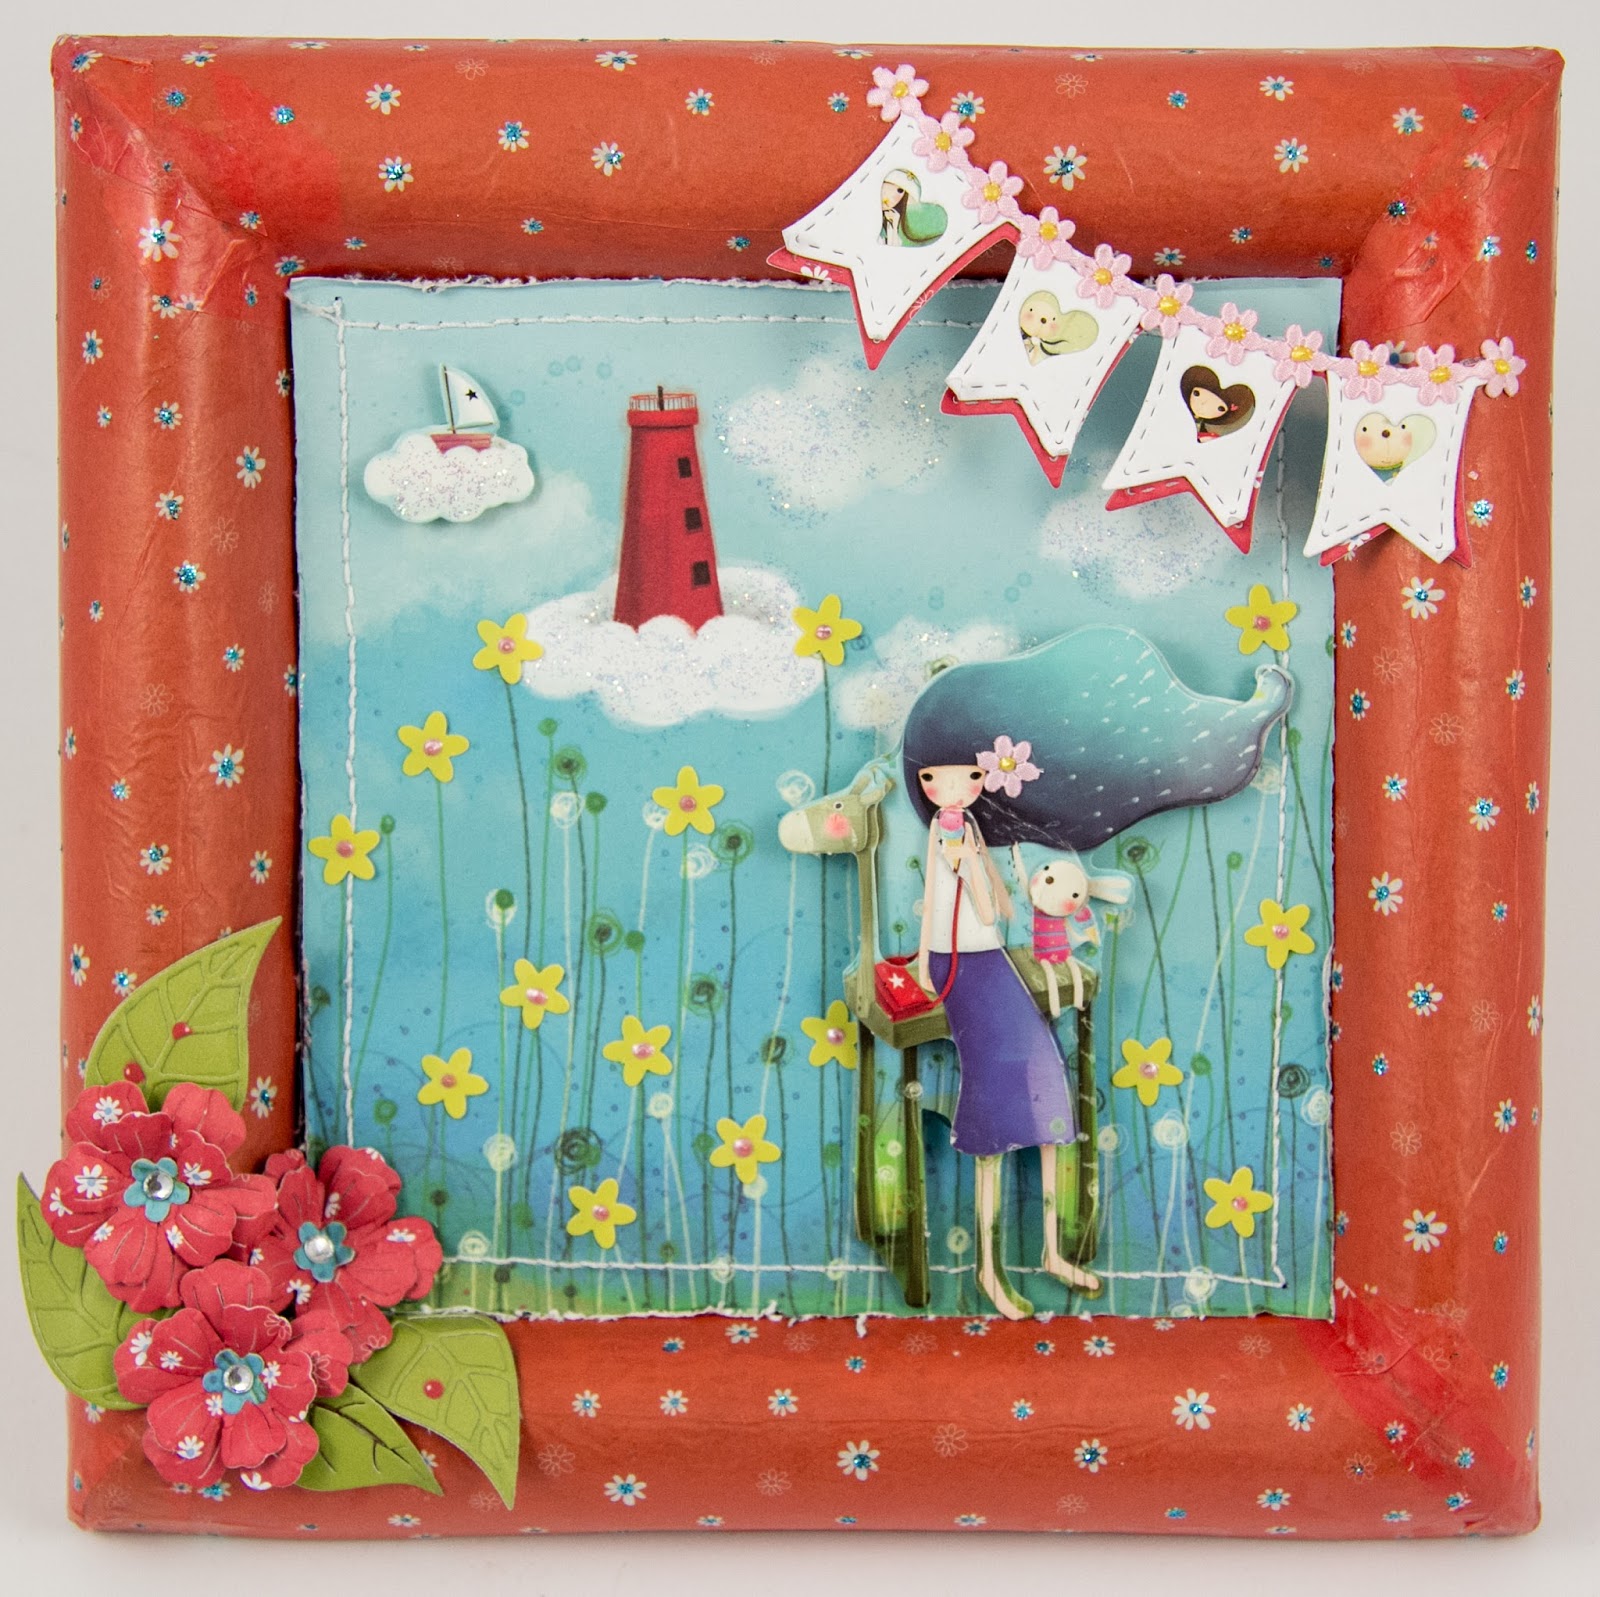
I covered a chipboard frame and have added into the centre of my frame 3D Decoupage and papers from 12 x 12 collection, sequins and flower ribbons from this newest collection.


This card shows another image with 3D Decoupage and papers.


I have also used the amazing flocking powders that added texture to my clouds and trees, I love this product and apply it with Glossy accents.


This card shows how the 3D Decoupage can be mounted onto a complimenting topper and with a die cut frame and a touch of glitter you have an effective quick card.


On this card again I have combined both collections using 3D Decoupage, Doilies, Buttons, Raffia String and Washi Tape.


On this last card I have fussy cut my image and layered onto my paper with Silicone Glue, adding a wooden world embellishment from the collection which I coloured with Copic Pens, adding a flower button to her hair and flocking powder to the clouds. My die cut flowers are from Kori Kumi's first collection adding on my sweet buttons for extra detail.

Do check out Craft Consortium to see their full range of Santoro Kori Kumi and follow them on Facebook and Instagram for regular inspiration and giveaways.

Crafty Hugs, 

Julie x

Monday, 27 March 2017

Tell the Bees


Hi everyone, Craft Consortium has launched a beautiful paper pad called Tell The Bees, it has the most exquisite patterns that I'm sure you will fall in love with. Please do check it out HERE.


I decided to take inspiration from the paper pad and make a honey pot using an old air freshener glass bottle and covering it in twine with a cork placed in the top.


I mounted it onto a card base adding moss and some small Daisies filled with Flowersoft in their centres.


My sign I used from the Kori Kumi range and I added some Crackle Paint for a distressed look adding the sentiment from my paper pad.


Now onto the fun part of fussy cutting out lots of Bees from one of the sheets of paper in the pad and adding them onto my Beehive.

Do check out Craft Consortium to see their vast range of stunning embellishments, paper pads and Decoupage papers on their web page and Facebook for inspiration and regular giveaways, you will also find them on Pinterest, Twitter and Instagram.

Crafty Hugs, 

Julie x

LinkWithin

Related Posts Plugin for WordPress, Blogger...
01 09 10