Translator

Showing posts with label Curved Border Set. Show all posts

Saturday, 30 April 2016

Vintage Corset


Hi Everyone, thanks for stopping by today. For my DT card at Cheery Lynn Designs I am sharing with you a card with quite a lot of techniques on it. So let me take you through all my stages.


Layering my die cut corners behind my layer of card gives a different look to the corner dies.


I used my stitched rectangle as a guideline, counting the stitches, to die cut out my patterned strip evenly, holding down with a little tape. I worked from the outside on both sides towards the centre. This way I new my card would have even spacing.


I measured in between my gaps and added strips of paper with foam tape which I tattered at the edges. My centre strip was ever so slightly wider than the rest so I balanced this by adding my Anastasia cream border.


I cut my Nautical Wheeler doily in half and offset onto my stamped image which had also been tattered at the edges and a scattering of Frantage added.


My corset was cut out 3 times in different patterned paper and reinserted in to the negative spaces. I curved the edges at the top and bottom to give my corset a 3D effect adding my angel wing lace finishings and a few sparkly gems.


Adding some splashes of paint and some shabby flowers to finish.


Thanks so much for stopping by today and I hope you get a chance to join in the Current Challenge at Cheery Lynn which is Mothers Day. We all look forward to seeing your beautiful entries.

Crafty Hugs,


Julie x

Shop at Cheery Lynn for:

Saturday, 25 April 2015

Springtime Card


Hi Everyone, apologies for falling behind with your blogs this week, I look forward to catching up as soon as I am able. Today I am showcasing four of Cheery Lynn's new dies on my DT card for Cheery Lynn Designs. Let me show you how I built my layers on my 5.75 x 5.75 card.


On a length of patterned paper I placed my Curved Border set with the little pierced holes about half an inch in from the edge. I then added my cutting strip to the edge of my paper matching up with my pierced design, holding down with some low tack tape to keep in place. Inking the edges and adding on my lace edge.


I sprayed a little water onto my paper and gathered it into folds. I dried with my heat gun, highlighting the folds with Distress Ink. I then stitched around the edges for more detail.


You will notice my pierced stacker had the middle section cut out to fit neatly into the space available on my card and to compliment my oval doilies shape. 


On my image I coloured her dress with Distress Pens and mounted onto my doily frame. I die cut my frame in white cardstock and then pressed into my Versamark Ink pad and heat embossed some Aged Aqua Frantage powder.


My branches I shaded with Copic Pens. My Cherry Blossom was shaded with Distress Ink and a Pearl added to the centre which I coloured with Alcohol Inks.


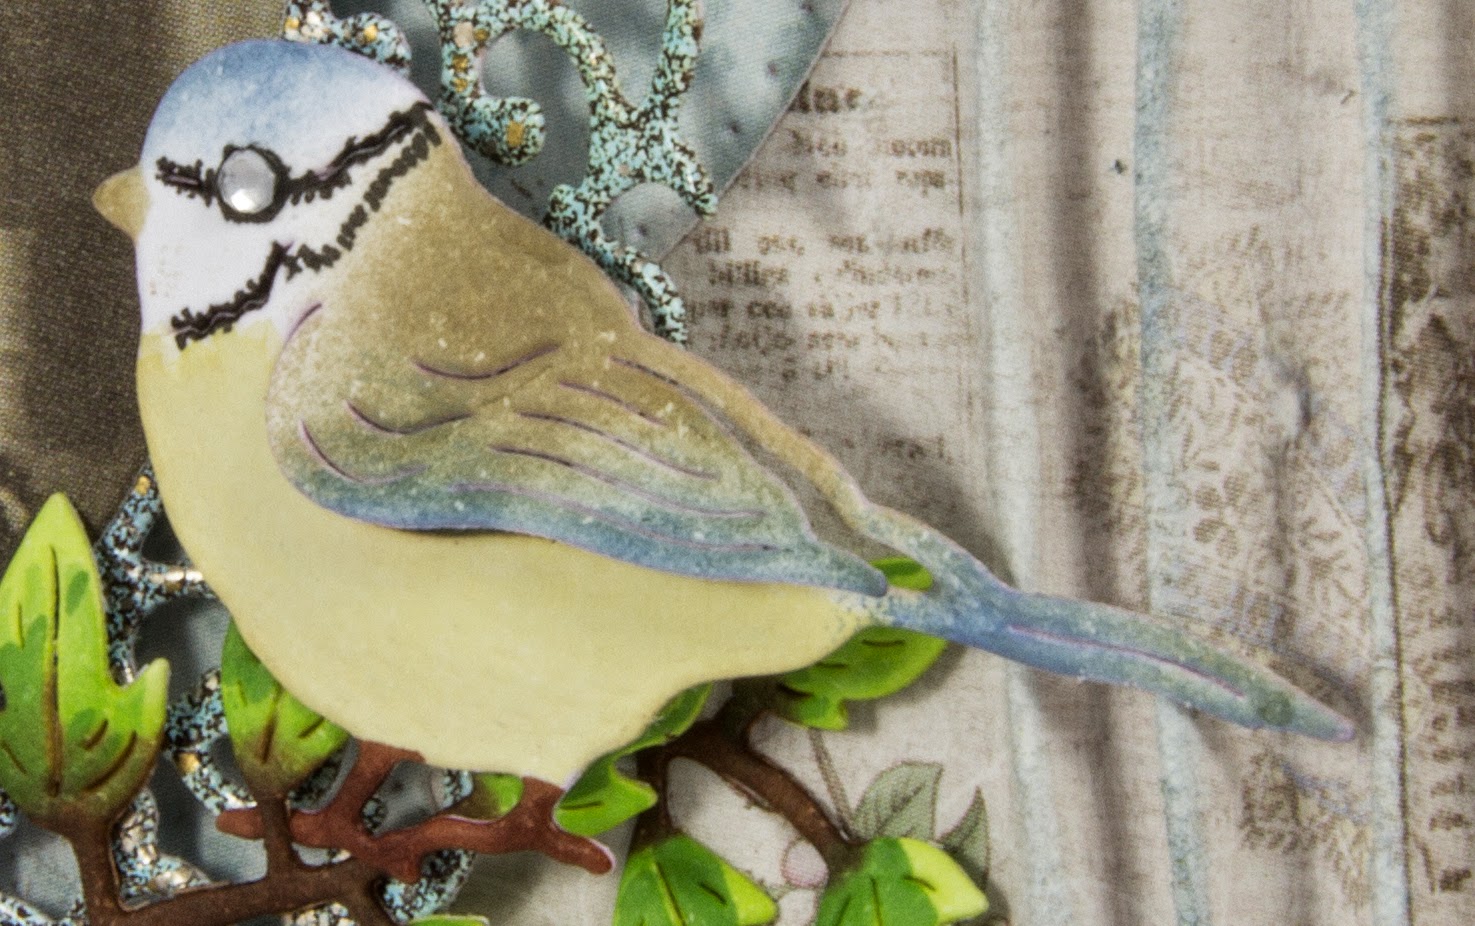
My sweet little Blue Tit was shaded with Distress Inks and edged with a Black Fine Liner Pen around his face and a diamante added for his eye. I absolutely adore these new birds from Cheery Lynn which come in a set of four ....... a must have !

Thanks for stopping by to see my post today and for the lovely comments you leave, I really appreciate them. 

Julie x 


Shop at Cheery Lynn For :

Cheery Lynn New Release Dies Used:

Other Cheery Lynn Dies Used :


LinkWithin

Related Posts Plugin for WordPress, Blogger...
01 09 10