Translator

Showing posts with label Feathered Friends. Show all posts

Saturday, 24 June 2017

Dreams


Hi everyone, today for my DT card at Cheery Lynn Designs I am sharing inspiration using one of their beautiful Cardmaker Dies. These Dies are amazing at forming the background to your card and give a lovely elegant touch.


I started by cutting out my Cardmaker Die and heat Embossing some Stampendous Shabby Blue onto the edges and layering onto my patterned paper.


My centre sentiment was stamped and some Embossing powder added to the edges to help frame it. Next I mounted onto my frame with foam strips.


My bird was shaded with Distress Inks and a Fineliner pen, nesting it along side my foliage and Daisies.


My large Shasta Daisies were shaded with ink and shaped on my Embossing mat. I added a small foam ball to the centres along with a layer of glue and Flower soft into the centres.

Cheery Lynn Dies Used :
CASO16 Nesting Doll Oval  


Thanks so much for stopping by today.

Crafty Hugs,
Julie x

Friday, 3 March 2017

Special Day


Hello everyone, today for my DT card at Cheery Lynn Designs I have been having fun layering their Stacker Dies to make a frame, adding finishing touches with the gorgeous Daisy Chain Die.


I started by cutting out my large square die along with a smaller square to form my aperture frame. Next I cut out another square frame in yellow cardstock and cut along the pierced edge with my gullotine and inserted behind my frame along with my lace edge that had a little Distress Ink added at the edges. I added foam strips to my frame and placed on my card.


My Blue Tit bird was coloured in with Distress Inks and a Black Fine Liner Pen. For my Daisy Chain I positioned 4 strips around my card and layered my flowers twice, shaping them on my Embossing mat adding pearls to the centres and hiding the joins with a Daisy.


My sentiment and frame were layered up with foam strips and a little cheesecloth and pearls for extra detail.


Thanks so much for stopping by today and for all the continued comments left, I love reading them.


Crafty Hugs, 
Julie x

Cheery Lynn Dies Used :

I would like to enter this in to the following Challenges: 
Crafty Creations Challenge - Anything Goes
Frilly and Funkie - Welcome Spring Challenge
Card Mania Challenges -  Pastel Colours
Dies R Us - Something New ( Daisy Chain Die )  
Noor Design - Spring 
Pearly Sparkles Challenge Blog - #14 Flowers 
Double D Challenges - Think Spring 

Wednesday, 14 December 2016

Merry Christmas Shaker Gift Bag


Hi everyone, today for ny DT card at Cheery Lynn Designs I am sharing some Christmas inspiration using their wonderful Shaker Dies on a gift bag measuring 8" x 10" approx excluding the handles, which I have decorated. So let me take you through the techniques on my die cuts.


I used the Lattice Valance Border at the sides of my bag gluing onto a red strip of card and then mounting onto my cream cardstock, finishing with a border of Red Stickles.


I started my centrepiece by cutting my large Snowflake in half and accenting behind my stacker layer. My Shaker Bells were heat Embossed with an Antique Copper, rubbing a little black Archival ink at the edges to age them. I filled one with Shaker Confetti listed below, small beads and Micro beads, mounting the other to the side as an accent of bells ringing.


My Poinsettia's were cut out in cream cardstock inking at the edges and adding a mix of Micro beads to the centres. My Robin was shaded with Distress ink and black Liquid Pearls added for his eye.


I added a lot of foliage onto my design and finished off with some Liquid Snow and Glass Glitter for a frosty look that glistens so lovely when it catches the light.

My Merry Christmas was heat embossed with Red Tinsel Embossing Powder for more sparkle. Finishing my bag off with a pretty bow and an accent of lace.

Shop at Cheery Lynn for -


Thank you so much for stopping by today and good luck to everyone entering the Bi-Weekly Challenge over at Cheery Lynn Designs.

Crafty Hugs,
Julie x

Saturday, 7 May 2016

Songbirds


Hi Everyone, In Scotland the Songbirds are all starting to sing. It's so lovely to hear them happy now Spring has arrived.....unless it's 5 o'clock in the morning ! So my Cheery Lynn Designs DT card today was taken from inspiration of the blossom filled trees and these beautiful birds.

I started by layering up a couple of my stacker dies to form the frame of my card. I love how the inverted scallops give the appearance of a postage stamp edge.


My branches were all cut out in textured Green Cardstock and I went over the branch area with a Brown Copic Pen. I then shaded a small piece of White Cardstock with a few shades of ink and then die cut out my flowers and added a little Stickles into the centres.


My sentiment was stamped onto patterned paper.


My sweet little birds were shaded with Distress inks to look like a Robin and a Blue Tit. I added a drop of Liquid Pearls for their eyes and highlighted the details of the die with a Fine Liner pen. If you google an image of the kind of bird you want to colour on your die, I find this makes it easy to shade them.

The Current Challenge at Cheery Lynn Designs is Mothers Day and I do hope you get a chance to join in for a chance to win a $20 shopping spree.
Thanks so much for stopping by and for the wonderful comments you leave. I love reading them and appreciate them so much.

Crafty Hugs,

Friday, 15 January 2016

Cheery Lynn New Release January 2016


Hi Everyone, today I am super excited to be showcasing along with my Teamies at Cheery Lynn Designs their January 2016 New Release which has been launched at the CHA Show in California. It is a true honour knowing my cards are on display at this show. This is an amazing release with so many new dies added onto my Wishlist.

My card today showcases the beautiful Fern and Birds Nest with Eggs.


The Fern has beautiful detail and will make a wonderful accompaniment to any Floral Arrangement. The Birds Nest die comes with a choice of 3 different sizes of eggs and 2 nest shapes. Isn't it cute with the addition of my little Bird.

Please head over HERE to see my Teamies creations using some more of the New Release and the Cheery Lynn Shop for the full range.

I'd also love if you stop by my Blog tomorrow where I start a Cheery Lynn Blog hop with my Teamies and you have a chance to win $20 worth of dies. 


Crafty Hugs,

Julie x

New Release Dies-


Shop at Cheery Lynn For:

Also used Craft Consortium - English Garden Paper Pad

Saturday, 12 December 2015

Joy to the world


Hi Everyone, today for my DT card at Cheery Lynn Designs I am sharing with you my latest Festive card making a Christmas Wreath for my sweet little Robin to sit on.


I started by matting and layering my first few chosen layers adding Stickles and Distress ink around the edges. You will also notice on my top layer I highlighted all the pierced holes with a red Fine Liner Pen and scattered some Frantage embossing Powder for a snowy effect.


My Wreath was cut out 3 times and my base layer was cut in half and slightly offset to give the illusion of more foliage gluing another layer on top. My final layer I added heat set Mistletoe coloured embossing powder onto the foliage this gave it added sparkle and detail.


My Robin was shaded with Distress Inks and some Black Liquid Pearls added to his eye. My Candy Canes are from the Build a Tree set, I die cut them in White cardstock and added some red with a Fine Liner Pen.


My wording was heat embossed with Red Tinsel and offset onto Green Card Stock for a shadow effect.


Finishing off with my Pretty Bow.

Thanks for stopping by today and for your continued visits and comments, I really appreciate them. 

Crafty Hugs,

Julie x

Shop at Cheery Lynn for:
I wish to enter this in to the following Challenges:

Saturday, 20 June 2015

Summer Garden


Hi Everyone, Isn't it lovely the summer flowers are starting to bloom and I thought this week I would bring part of my garden onto my DT card at Cheery Lynn Designs. Today my post is scheduled as we are off for a summer break, hence why I may be a little quieter in Blogland over the next ten days or so depending on internet connection.


I started by layering my Flourish onto my card as a background accent and added my Pocket Watch with silicone glue.


My leaves were cut out in green card stock and shaded with distress ink, rolling my edges and layering on with Silicone to give a natural look to my leaves. My Flowers were coloured with Copics and a little Flower Soft added to the centres.


We have a Baby Blue Tit which frequents our garden regularly and I just had to include him on my card. I shaded him with Distress inks and used a Fineliner to hi light the black.


Adding Stickles, bling and a stamped sentiment which was fussy cut to finish.

Thanks for stopping by to see my post today. 

Julie x

Shop at Cheery Lynn For:


Saturday, 25 April 2015

Springtime Card


Hi Everyone, apologies for falling behind with your blogs this week, I look forward to catching up as soon as I am able. Today I am showcasing four of Cheery Lynn's new dies on my DT card for Cheery Lynn Designs. Let me show you how I built my layers on my 5.75 x 5.75 card.


On a length of patterned paper I placed my Curved Border set with the little pierced holes about half an inch in from the edge. I then added my cutting strip to the edge of my paper matching up with my pierced design, holding down with some low tack tape to keep in place. Inking the edges and adding on my lace edge.


I sprayed a little water onto my paper and gathered it into folds. I dried with my heat gun, highlighting the folds with Distress Ink. I then stitched around the edges for more detail.


You will notice my pierced stacker had the middle section cut out to fit neatly into the space available on my card and to compliment my oval doilies shape. 


On my image I coloured her dress with Distress Pens and mounted onto my doily frame. I die cut my frame in white cardstock and then pressed into my Versamark Ink pad and heat embossed some Aged Aqua Frantage powder.


My branches I shaded with Copic Pens. My Cherry Blossom was shaded with Distress Ink and a Pearl added to the centre which I coloured with Alcohol Inks.


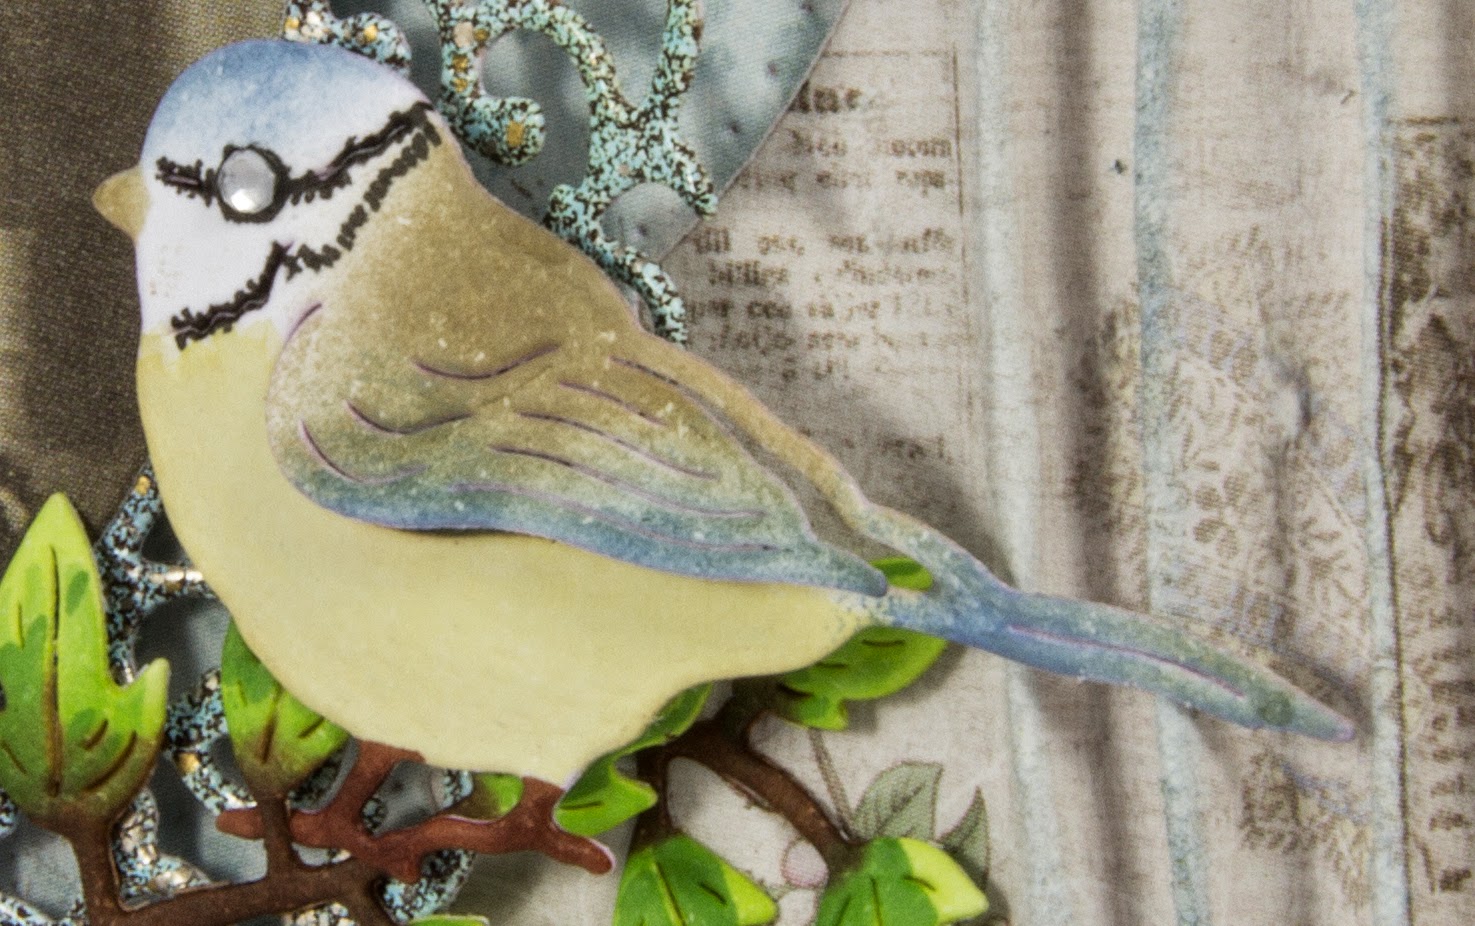
My sweet little Blue Tit was shaded with Distress Inks and edged with a Black Fine Liner Pen around his face and a diamante added for his eye. I absolutely adore these new birds from Cheery Lynn which come in a set of four ....... a must have !

Thanks for stopping by to see my post today and for the lovely comments you leave, I really appreciate them. 

Julie x 


Shop at Cheery Lynn For :

Cheery Lynn New Release Dies Used:

Other Cheery Lynn Dies Used :


Wednesday, 15 April 2015

Cheery Lynn Designs April New Release


Hi Everyone, Cheery Lynn Designs launches their 2nd New Release of the year today and WOW what an amazing release this is. I'm sure when you check out all the designs HERE you will agree we have been thoroughly spoiled with an amazing release. 

On this card I am showcasing 4 of the new dies.


The centre shows the new Royal Scandinavian Tag 2 which comes with an extra swirl die which I have placed around the outer edge of my circle to compliment my tag. My Bird comes in a Set of 4, LOVE them and their amazing detail. You will see them in some more cards over the next month.


The Pierced Stackers are fab - notice all the little holes around the edges, such a pretty finish to the edge. 


The new Leafy Flourish comes in a set of 2 and is so pretty with the little flowers. I cut it out in plain cardstock and layered on a die cut layer of pattern cardstock for my flowers.

Over at the Cheery Lynn Designs Blog my fabulous Teamies are also showcasing more of the New Release, please pop over HERE to see their amazing cards.

Thanks for stopping by and I will be back on Saturday showcasing some more from the New Release.


Julie x

Cheery Lynn New Release dies:

Other Cheery Lynn dies:

LinkWithin

Related Posts Plugin for WordPress, Blogger...
01 09 10