Translator

Showing posts with label DecoArt. Show all posts

Thursday, 22 June 2017

Perfume Bottle Tutorial - Cherish The Memory


Hi everyone, Today I am sharing a tutorial on how I have upcycled a glass air freshener bottle for my post with Cherish The Memory.


I started by giving my bottle a coat of Gesso, this helps to give the glue something to grip onto and shows the colour of the Decoupage papers off better than it going onto a clear surface.


I tore my beautiful shabby look Decoupage Paper into small pieces and glued in place on my bottle.


Once dry I added a fairly thick layer of Crackle Glaze being careful not to have drips. This took a couple of hours to dry thoroughly.


Once dry I coated it in Antiquing Cream, letting this dry for a few minutes before rubbing back with an old cloth to reveal the crackles.


I then sealed my bottle with a couple of coats of Gloss Varnish.


I love how it now looks like crazed porcelain.


I added my pretty Gemstone Tape to the neck of the bottle. Cherish The Memory stock several styles of this tape in a selection of Gems and Pearls and is the perfect finishing touch.


I added some Copper Embossing Powder to the base of my bottle. My Crafty Individuals perfume stamp was stamped in Archival Ink adding some Embossing Powder around the edges and shading my card with Tattered Rose ink.


I mounted this onto a little cheesecloth, glued in place adding a couple of butterflies to finish.

Cherish The Memory Products Used:

Please check out Cherish The Memory Etsy Shop to see their beautiful range of papers and craft packs with new items being added weekly. You can also follow them on the following links :
https://www.facebook.com/ctmcrafts/   


Crafty Hugs, 

Julie x

Sunday, 25 October 2015

La Parfumerie


Hi Everyone, it's the turn of the mixed media design team to host the challenge at That Craft Place which is Anything Goes Mixed Media.

For this challenge I have decorated one of the small shrine boxes available at That Craft Place. Lisa has a few style of these delightful boxes so please check out the links on my sidebar should you wish to purchase one.

The little house approximately measures 2.5 inches across x 4 inches high with a depth of an inch. They come flat packed and are very easy to build.


I decided I wanted to turn mine in to a Parfumerie House. I built up the shrine and added a layer of Gesso and then some Texture paste over a Stencil. I added sections of Chipboard so I could add a roof on to my shrine.


Next I painted my house and stamped some text on to it, which only stamped on to my raised areas. Finishing the outside with some Gilding Wax.


On the inside I added a floor using coffee stirrer sticks.


Next using an old book page I added small pieces of Craft Consortium's decoupage paper, finishing with a layer of Crackle Glaze. I then placed this in my house as the wallpaper for my background.


My roof was cut out of Craft Consortium's Gypsy Gypsy Paper pad using my Cheery Lynn Cuties 3 strip, off-setting each layer to give a tiled effect.


My Perfume bottles were stamped and fussy cut out, adding a layer of Glossy Accents.


3D Perfume bottles are made from small beads from my stash.


My small mannequin button I painted, adding on various beads, lace and metal embellishments to my mannequin and house to finish. I added the little base to my house and sat it on to some old beads as small feet.

Thanks for stopping by today and please pop over to our team blog and see what my fabulous Teamies have made for this challenge.

Julie x

Products Used:
That Craft Place - MDF Shrine Box
Cheery Lynn B151 Cuties 3 Strip
Craft Consortium Gypsy Gypsy Pad & Decoupage Papers DecoArt Products


All available to purchase at That Craft Place.

Friday, 2 October 2015

Art Journaling


Hi Everyone, It's the start of our monthly challenge at A Vintage Journey and Alison is our host. The challenge she has decided on is Art Journaling - Tim Style. Having only ever made one other double page spread into a journal I felt rather apprehensive with this challenge but keen at the same time to stretch myself out of my comfort zone.

My idea is to have this journal completed in a Edwardian ladies style journal which will have lots of flowers, botanicals and images in it. Tim's products are making this easy to achieve.

I started off with an old hardback book from a Charity shop and ripped out half of the pages so as when my journal comes near completion it will still close. I then grouped some pages together with Mod Podge, this gave me a substantial surface to then work on.


On the outer cover I crinkled Tissue paper all over and a strip of lace, letting it dry. Meanwhile I gave my MDF embellishments (which are available at That Craft Place) Andy Skinners rust techniques which you will find on YouTube. Once my cover was dry I shaded a mixture of paints applying it with a wet wipe until I was happy. Finishing off with a coat of Multi Medium and some gilding wax.


My inside cover I trimmed a piece of card and covered it with Tim's Botanical pad cutting out my arch with a Sizzix die. I decoupaged my flower after shading with Distress Pens, adding some remnant rubs, stencilling, lace and pearls.


I coordinated this page in the same way. My Sizzix frame I used Wendy Vecchi's technique of adding some gold paste and Archival ink. My image is off of Pinterest. I also added lace and little strips of Ric Rac which I coloured with Distress Stain.

I tattered the edges of the pages of my book and added a little Distress ink.


Using more of Tim's Botanical Papers I fussy cut out my birds and image from Pinterest. I stamped feathers on to both pages using Archival Inks and Gesso shading the edges with Distress.


I also glued a few feathers onto the pages.


My little Diamond shaped tiles are waste from Cheery Lynn's Lattice Frame die, I added a thick coat of DecoArt Crackle Paint, once dry adding Distress ink into the cracks. On this page I used Tim's Birdcage die and the same Crackle technique as on my tiles adding some fussy cut birds, pearls and lace to the cage. I stamped 'Own Your Dreams' in Archival ink and put a layer of Glossy Accents over each letter. Adding more lace and tattering the pages to finish.

We also have a DT call at present for anyone who would like to be considered to become a Creative Guide, please pop over to A Vintage Journey for all the details and where you will see some amazing Journaling from my Teamies for more inspiration. Hope to see you entering to have a chance of winning a £20 voucher from Country View Crafts.

Thanks for stopping by today and I'd love to hear your thoughts on my Journaling pages.

Julie xx


Sunday, 27 September 2015

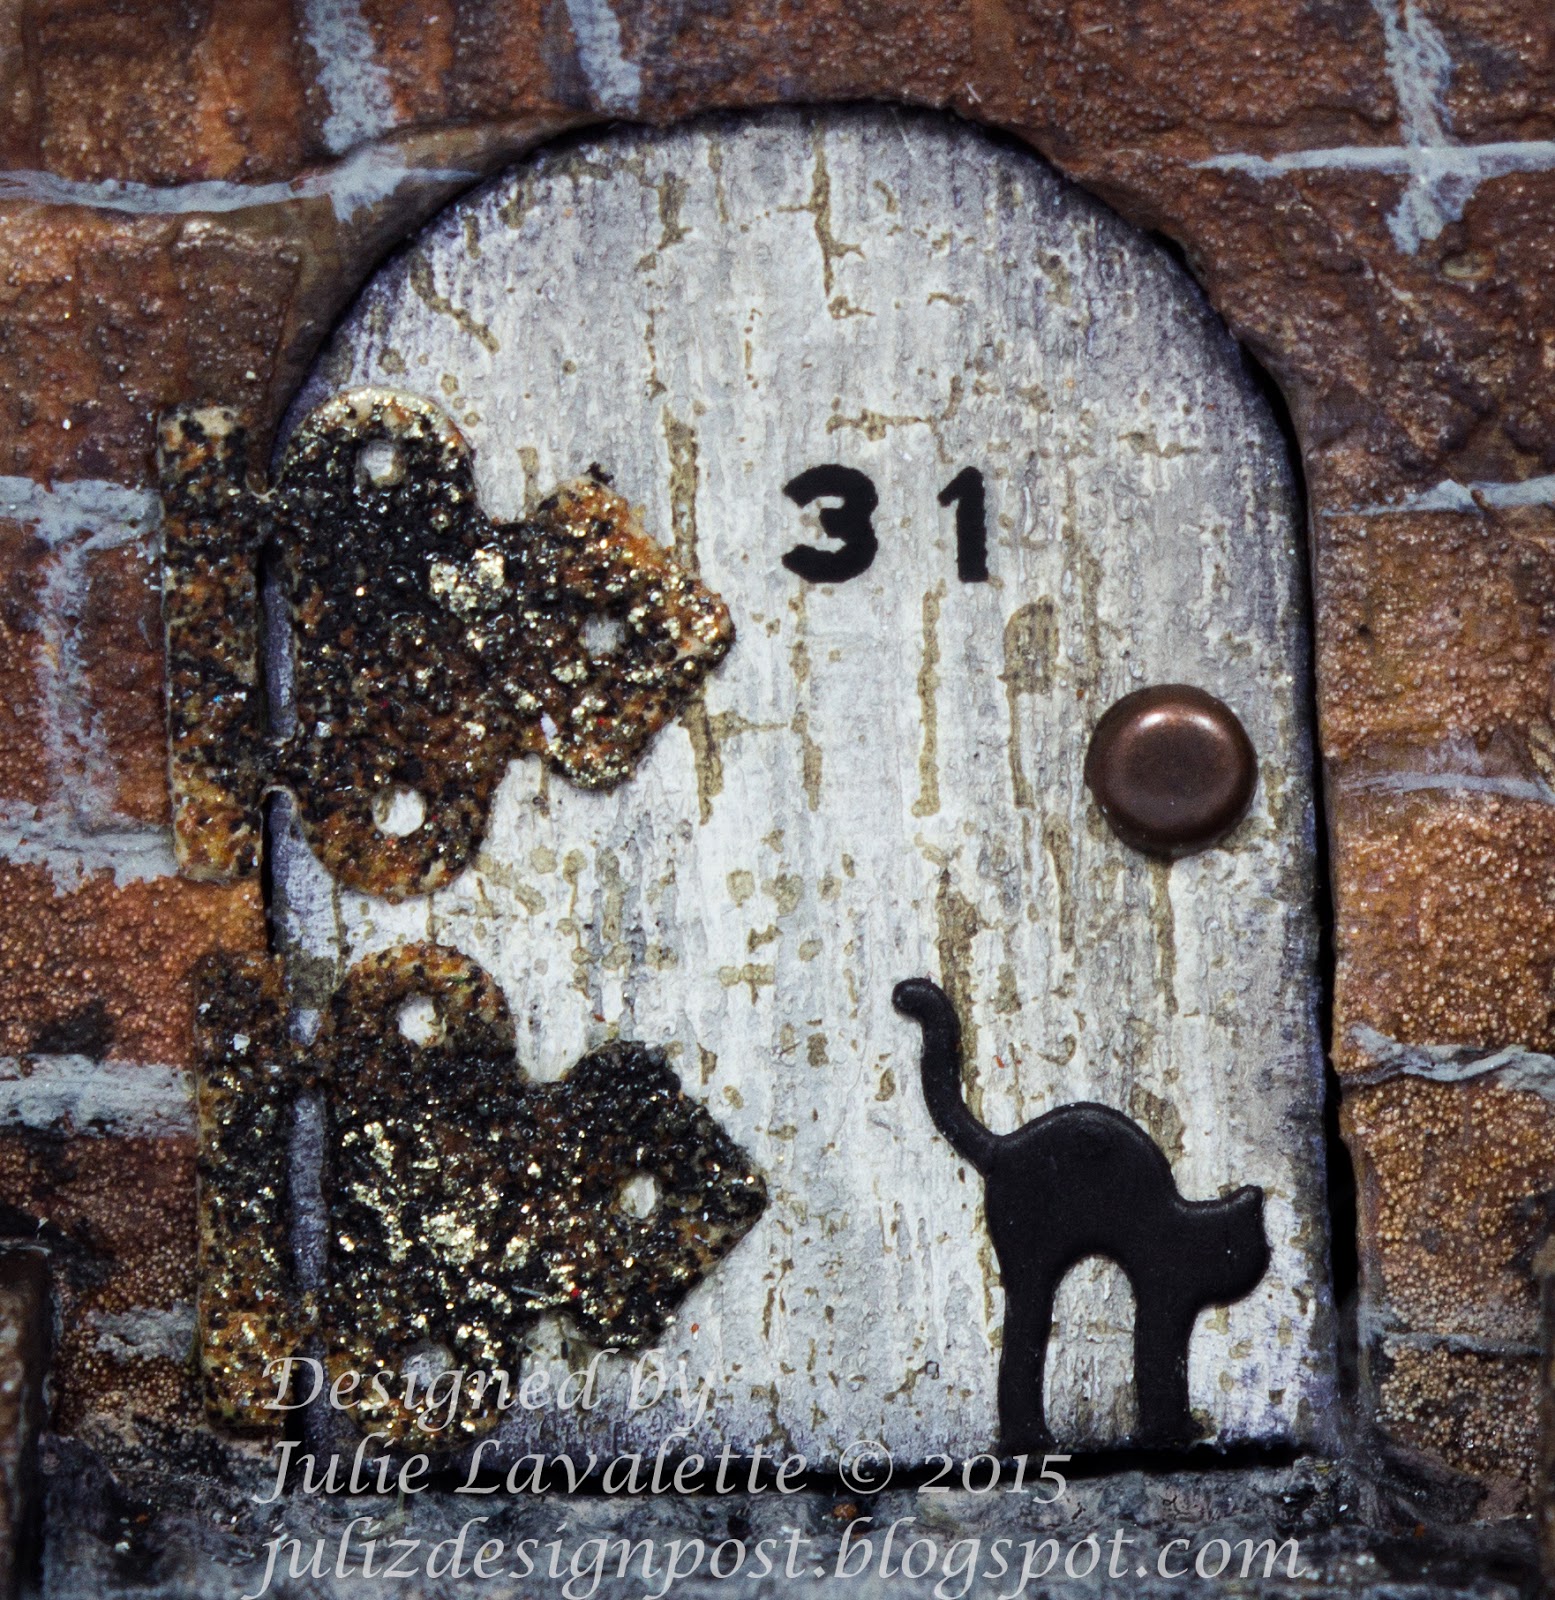
31 Creepers Court


Hi Everyone, over at That Craft Place we start a new Challenge for the next fortnight which is Mixed Media Anything Goes. I couldn't resist making a Halloween House for my DT post.


My house before I started working on it.


And finished.........Chris my Darling HB has taken many fabulous photographs for me, giving it a super spooky feeling, so I thought it would be nice to just let you see lots of fab photos on this post and if you want to know anything please just ask me.


Visit if you dare !
                                                            
Nice Cat !

Do you do Bed & Breakfast ?

Things that go bump in the night !


Beware of the spiders !

This is my territory !

I seem to have lost my skin !

Trick or Treat !


My skeletons, Cheery Lynn dies and DecoArt products are all available at That Craft Place. Links can all be found on my sidebar on the RHS.

Thanks for stopping by today and please check out HERE what my fabulous teamies have been up to.

Julie x

I would like to enter this into the following challenges :


LinkWithin

Related Posts Plugin for WordPress, Blogger...
01 09 10