Hi everyone, I am just re-posting my tutorial post onto my
blog as it was previously posted at That Craft Place a couple of years ago when
I was on their Design Team with only a link from my blog to take you to this
tutorial. I wish to now keep as a reference on my blog rather than it being
lost in cyberspace with their blog being closed down rather than it sitting
continuously in my drafts box. So please don't feel obliged to comment, but enjoy the post.
Blog Post Copy
Hi Everyone, it's Julie here today from Juliz Design Post and I am sadly sharing my last DT tutorial with you at present here at That Craft Place, as our challenge blog and Natter and chatter group are taking a long extended holiday.
Lisa sells the most beautiful MDF Shrines in different shapes along with great embellishments to add to them in Greyboard and MDF, so please check out her shop links at the end of my post as these will still be remaining open.
So let me take you through the process of my shrine.
These are all the sections that come in the kit to start the project, ( my finished shrine measures approx 2.5" x 4.5" ).
You will see I painted all my inside sections apart from the
front of my house.
In this photo you will see I added on some heat embossed detail.
Next I made templates in greyboard so I could add a roof
onto my house by simply drawing around my shapes. I also roughly worked out
placement of embellishments although I changed a bit later on.
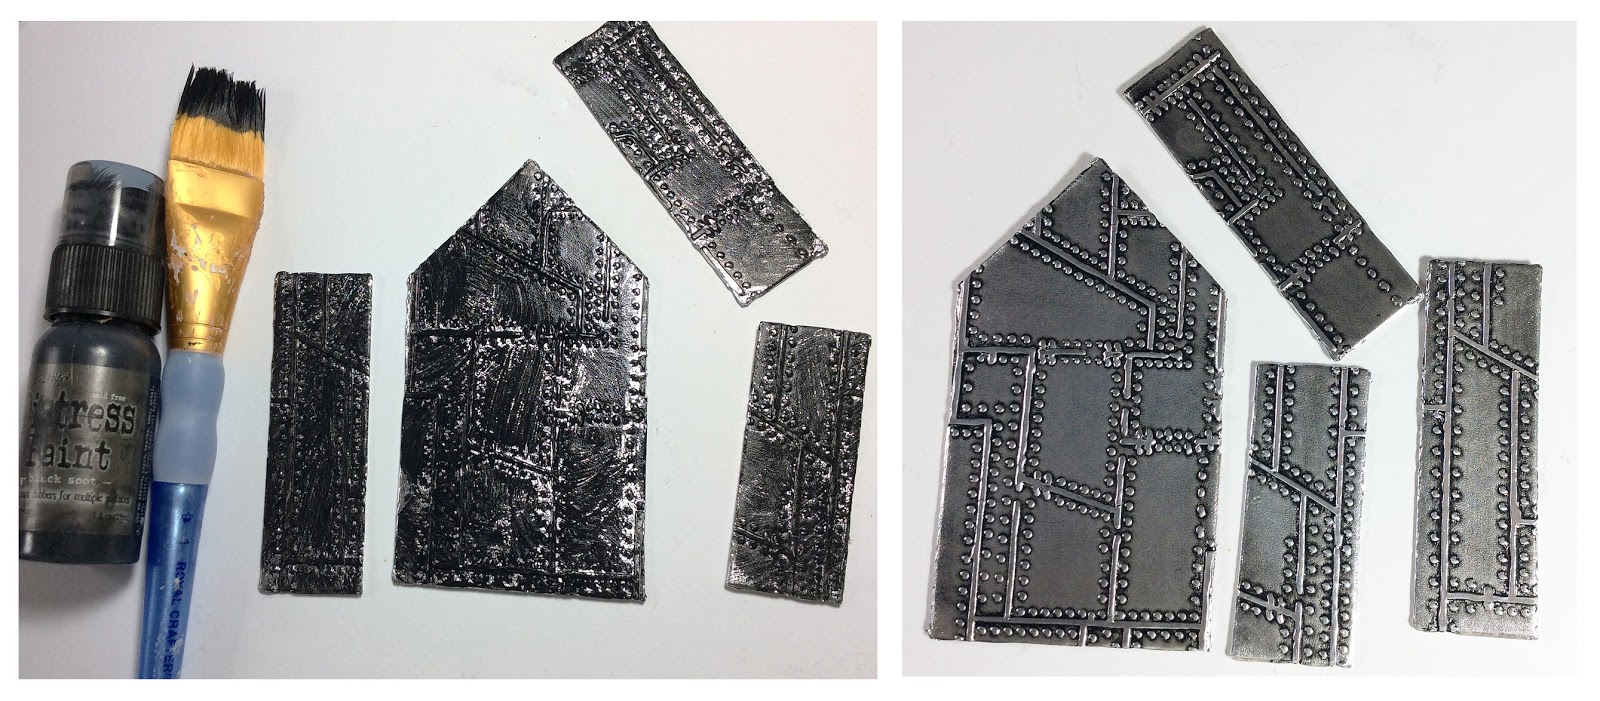
I covered my greyboard in Metal foil and ran through my
embossing folder.
I added my paint and let it slightly dry before buffing back with a dry baby wipe.
I glued my greyboard onto the MDF and added on some rust effects to the edges.
I glued lace onto the front and painted it with Black Gesso.
I then blended in some Mica Powders for highlights with a
little water over my lace.
I felt at this point the background was a little dark in
my house so I gave it a wash with Titan Buff.
I mixed Bronze Micro Beads with some Matt Gel Medium and applied
through my stencil onto my roof. Once this was dry I dripped Alcohol Inks over
it.
I love the look it gives almost like an Abalone Shell.
Side on and rear views were highlighted with Inka Golds at the embossed detail. My feet are sewing machine bobbins with some alcohol inks on them.
I added alcohol ink onto my pearls for a more Industrial look and then glued them around the window opening.
I Rusted my cogs using Andy Skinner's Techniques.
A close up view of the inside showing the cogs in place. My hearts had a layer of Crackle paint and were sprayed with
Tarnished Brass Spray Stain, I wiped them back and added a little Black Paint to the
edges.
My key was heat embossed with various Embossing and
Distress Powders, wrapping around with a little wire.
I brought out more highlights in my lace using Viva Decor
Inka Golds in coordinating shades.
A couple of finished photos. All products used in this post are available at the links below to the shop.
If you have enjoyed my posts at That Craft Place I'd love for you to pop over HERE to my blog to continue to follow me. My followers buttons are down my sidebar and I look forward to following your blog too.
Crafty Hugs,
Julie x
Links you need to know.